Page 1 of 3
Rebuild Queries and a couple of picks
Posted: Wed Sep 25, 2024 4:24 pm
Author: Sparky63
So as stated when I joined a couple of weeks back I am a novice with regards to Z900 mechanics so please be gentle.
A couple of queries - first one is my chain, its an Iris chain in great condition and when I took the bike apart 8 or 9 years back I took it off. I am looking to put it back on again with much of the bike reassembled but there is no split link and circlip. Please see pictures - to fit it now I would need to remove the wheel and the swinging arm. After so many years I can't remember if it came off with the bike dismantled. So new chain or can I put a split link in or am I missing something please?
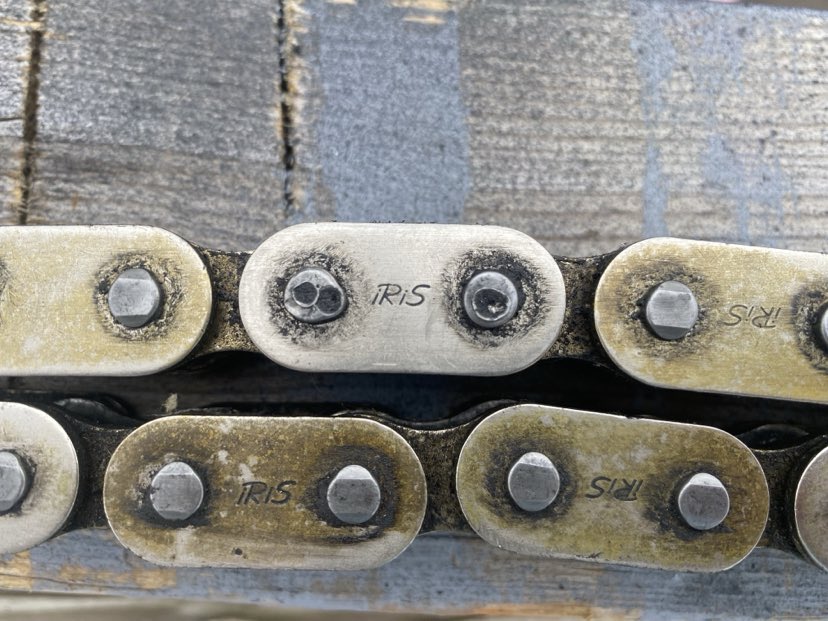
- 1. chain 2.jpg (115.57 KiB) Viewed 5097 times
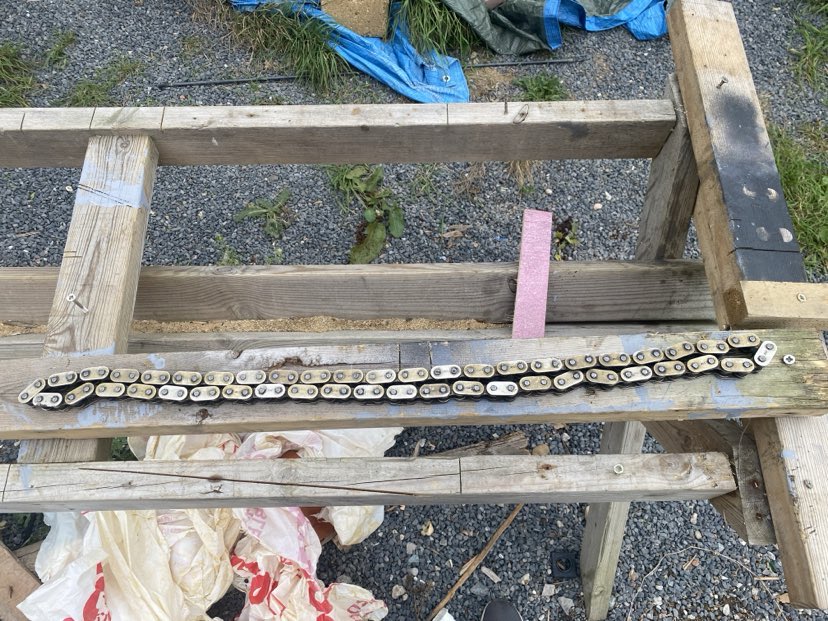
- 1 iris chain.jpg (168.61 KiB) Viewed 5097 times
Next I spent a number of hours fitting the carbs and intake rubbers, what a job, no skin left on my knuckles, no wonder people put those external bell mouth air filters. That is done now but fitting the throttle cables to the carb is tough, the throttle open is ok but the return cable is really difficult as there is little room through the cable guide on the carb.
Electrics, I have connected some electrics but still have the coils and a variety of wire connections left, it is confusing and for example the connections from the clocks are male cluster type but there are no female recipients.
I live at CO160BJ and would love it if somebody could help fit my electrics, I don't have much money but have £100 set aside if anyone could kindly assist.
Thank you for your time.
Next a few pics of my bike -
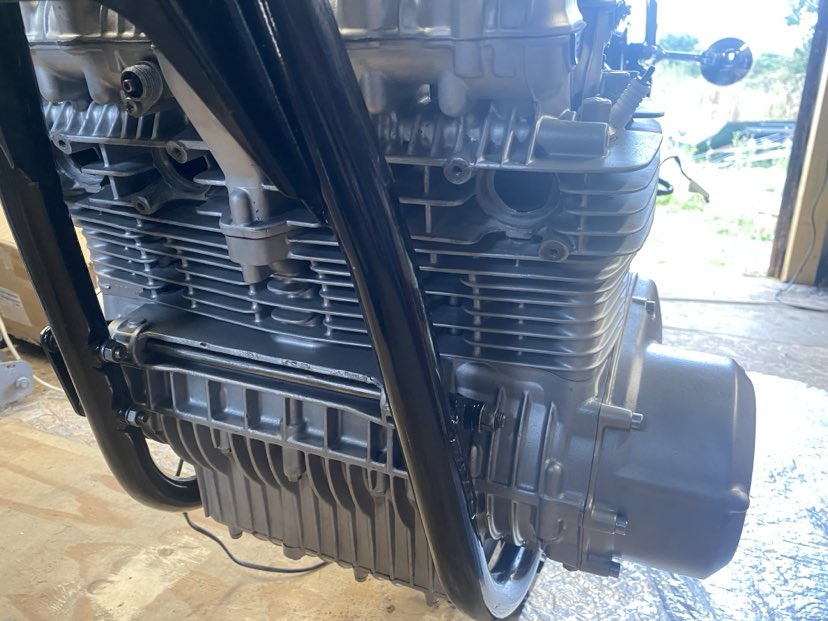
- 1 clean eng.jpg (96.72 KiB) Viewed 5097 times
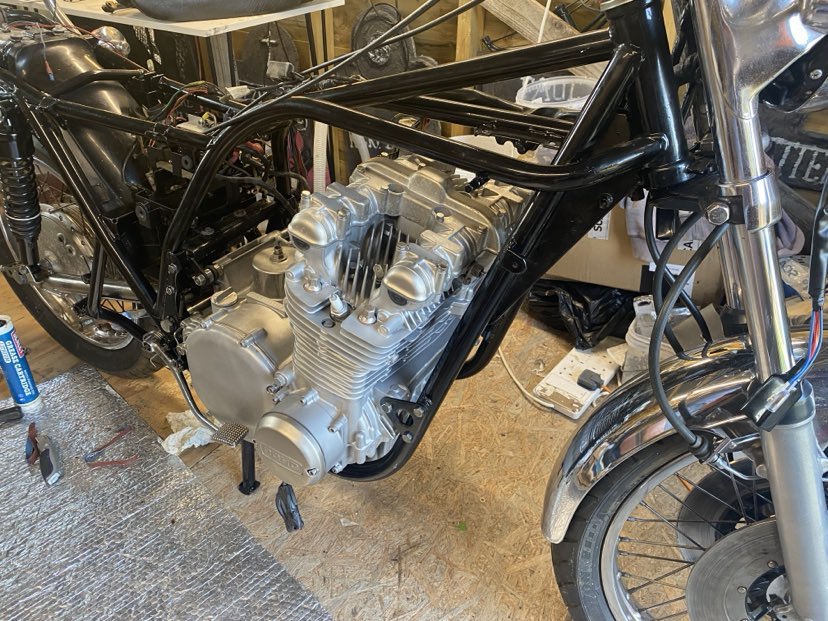
- 3.jpg (163.3 KiB) Viewed 5097 times
[
Re: Rebuild Queries and a couple of picks
Posted: Wed Sep 25, 2024 4:44 pm
Author: gray
Good progress so far, well done.
As regards the chain, rather than grind off the peened-over ends on the previous softlink, press out the pins of the softlink , fit the chain in place then re-fit a new softlink and peen the ends over correctly, it might be easier to remove the wheel, remove the swingarm then fit the chain over the swingarm and replace the swingarm in place, with the chain now in its right place. I know it sounds like a bigger job, but this way it costs nothing and its all stuff you've done before, and doesn't risk damaging the chain you have, by over tightening the new softlink .
Re: Rebuild Queries and a couple of picks
Posted: Wed Sep 25, 2024 4:52 pm
Author: gray
looking at your picture of throttle cables, on the upper cable you've got 2 locknuts both on the lower side of the cable bracket. There should be 1 above and 1 below - that might give you a little more slack to play with.
I find its easiest to run the locknut nearest the nipple completely off the threaded bit, that makes it easier to wiggle the nipple in, then fit the threaded bit into its slot in the bracket then slide the lower nut back up the cable onto the threaded bit.
Surgical forceps help to fit the nipple into the throttle quadrant , and I do the cable nearest the engine first.
Re: Rebuild Queries and a couple of picks
Posted: Wed Sep 25, 2024 5:16 pm
Author: Sparky63
Both points make perfect sense and thanks for your help with it, is the soft link the link with the two punch marks?
Am hoping somebody close will assist with the wiring.
Thanks
Re: Rebuild Queries and a couple of picks
Posted: Thu Sep 26, 2024 3:56 am
Author: Philippe
Hi Sparky
some advice:
chain: remove the swing arm and put the chain over it, much better than removing the softlink .
electrics: the main loom has the female connectors on it and the wires of the clocks and of the main switch are connected in the shell of the headlamp.
the wires of the handlebar switches are connected under the fuel tank
the green and black wires are connected to the coils, green serves the right coil (cylinder 2 and 3) , black serves the left coil (1 and 4)
throttle cables: start with the return cable and after that connect the opening cable, much easier than the way you did it.
make sure there's a nut on both sides of the guide .
Good luck
GrtZ
Philippe
Re: Rebuild Queries and a couple of picks
Posted: Thu Sep 26, 2024 5:29 pm
Author: gray
yes the softlink is the one with the punch holes on it - they're there partly to mark it and partly to slightly weaken the tip of the pin so it can be peened over with a hammer once the chain side plate is on . The only bit that's "soft" is the tips of the pins, the rest of the chain link is hardened as usual. You can see that the ends of the pins have been peened over with a hammer in the past by the previous person to fit a chain to the bike. Softlinks are much better than split links - I had a friend with a GPZ1100 who used split links for a short period but got fed up with them pinging off under acceleration.
Re: Rebuild Queries and a couple of picks
Posted: Thu Sep 26, 2024 5:39 pm
Author: warren3200gt
Nothing wrong with split links if they are fitted correctly. Never had one fail in over 45 years.
Re: Rebuild Queries and a couple of picks
Posted: Thu Sep 26, 2024 5:39 pm
Author: gray
Also note that the previous peening was a bit overenthusiastic - the plate is such a tight fit over the pins that the pin ends only need to be peened slightly to make the plate secure. When/ If you come to do it yourself , use a small mole grip to clamp the side plates together from side to side ( just to hold it steady, not to crush it or the O rings) then light taps with the round head of a ball-pein hammer, at the same time having the side face of a heavier hammer pressed firmly against the other end of the pin, behind the sprocket. ( or use a special tool that does the job - they're not dear but can be cheap and a bit nasty so they break after a use or 2)
Re: Rebuild Queries and a couple of picks
Posted: Fri Sep 27, 2024 10:44 am
Author: BAFF1960
Regarding the wiring issues, all the Kawasaki's I've had have the loom running on the left. Get the head light and tail light in position and fit the loom with the front mess in the bowl and tail light connected. Next slave install anything electrical and connect obvious blocks and odd wires as they align along the loom. This should get you going in the right direction. Slave together the switch and lighting connections in the headlight bowl. Any oddities and mismatches will start to show up now, normally at the coils/indicators. Using a good year/model appropriate wiring diagram will show you that black/yellow earths will suit black and so on. Just remember that any pattern parts may not be as original. Take your time, double check as you go and it should all fall into place. Have a couple of spare fuses handy and ensure the engine/battery earths good. Good luck.
Re: Rebuild Queries and a couple of picks
Posted: Fri Sep 27, 2024 7:32 pm
Author: Sparky63
Philippe wrote:Hi Sparky
some advice:
chain: remove the swing arm and put the chain over it, much better than removing the softlink .
electrics: the main loom has the female connectors on it and the wires of the clocks and of the main switch are connected in the shell of the headlamp.
the wires of the handlebar switches are connected under the fuel tank
the green and black wires are connected to the coils, green serves the right coil (cylinder 2 and 3) , black serves the left coil (1 and 4)
throttle cables: start with the return cable and after that connect the opening cable, much easier than the way you did it.
make sure there's a nut on both sides of the guide .
Good luck
GrtZ
Philippe
Hi Philippe,
That is really very helpful and I will refer to the wiring advice especially as it is a real problem for me.
The throttle info I will apply thanks and the coil wiring again is great confirmation.
Great info too from BAFF and Gray - thanks to you all.
Re: Rebuild Queries and a couple of picks
Posted: Tue Oct 01, 2024 10:52 am
Author: Sparky63
Hi there,
So am making slow progress, was alarmed to realise just how much wiring is packed into the headlight!!
So am struggling with the regulator placement, I have a picture of one below.
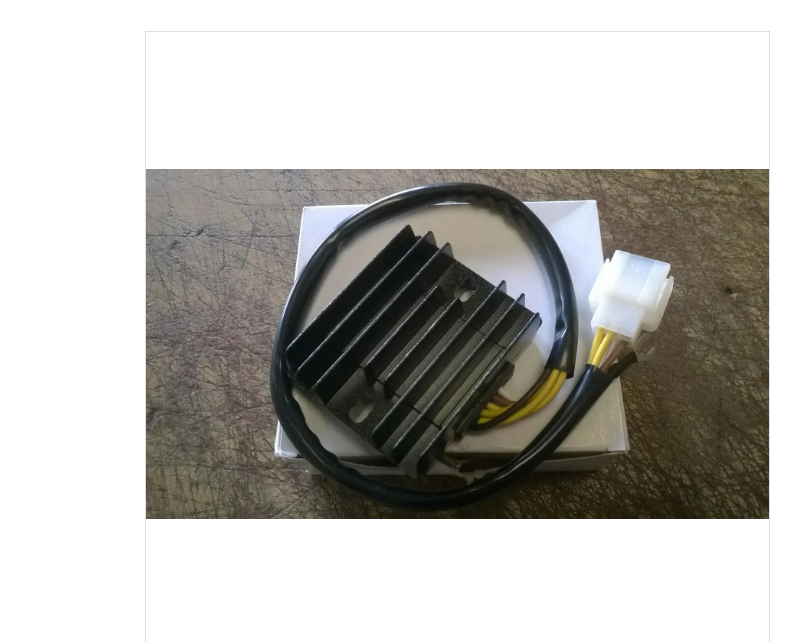
- regulator.png (390.02 KiB) Viewed 4728 times
have a couple more to post in and thanks for your help.
Re: Rebuild Queries and a couple of picks
Posted: Tue Oct 01, 2024 11:42 am
Author: Ultim8pc
Sparky63 wrote:Hi there,
So am making slow progress, was alarmed to realise just how much wiring is packed into the headlight!!
So am struggling with the regulator placement, I have a picture of one below.
It fastens to the bottom of the battery box where the original regulator is located.
You remove the rectifier which is mounted behind the LH sidepanel. The connect up as per diagram with the reg/rec.
Re: Rebuild Queries and a couple of picks
Posted: Tue Oct 01, 2024 12:23 pm
Author: Sparky63
three more here - please
the correct suppressor placement with 2 blue wires
does this go here -
next one what does this connect to and the route please
thanks
Re: Rebuild Queries and a couple of picks
Posted: Tue Oct 01, 2024 12:42 pm
Author: Sparky63
Thanks again for your time -
Is this another regulator it looks like it is attached to a flasher unit by wires but must be fixed by a bolt to the frame?
thank you for your expertise
Re: Rebuild Queries and a couple of picks
Posted: Tue Oct 01, 2024 2:05 pm
Author: z2.john
Those are the hazard relay and Hazard regulator