Well, the last few weekends have been spent running through the list of "little" jobs that I needed to finish up. You know the ones - they should only take a few minutes, but somehow they take hours !
First on the list was to remake the leaking oil cooler line, which meant draining out the oil, which in turn requires the exhaust to be removed as the Harris pipe, restricts access to the drain plug - ah, the joys of rebuilding an old bike

I'm glad to say, that is now sorted. A myriad of other jobs followed - fitting a crankcase breather filter; fitting the fuel pipes; fitting carb filters and so on and so on..................................
Then last weekend something strange happened, I went into my garage and looked at the list of "jobs to do" on my whiteboard and there were none

Empty Whiteboard !
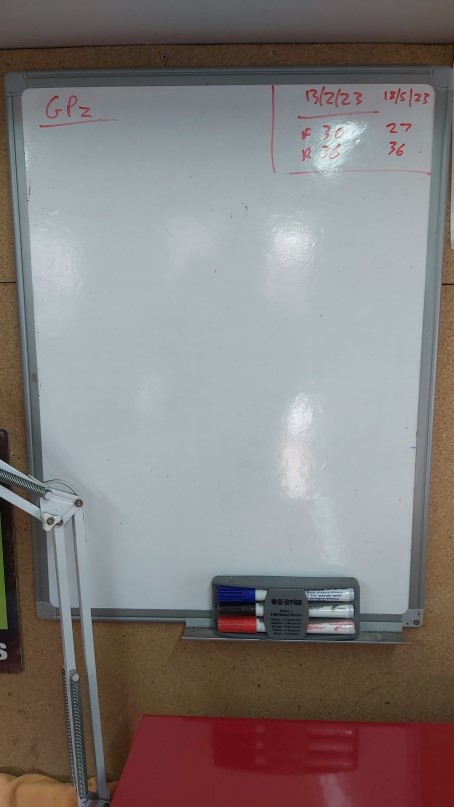
- Whiteboard.jpg (51.43 KiB) Viewed 91610 times
So now it was time to fit the bodywork back on and maybe, just maybe go for that long awaited initial run out on my old GPz - except my old GPz had a couple more challenges to throw at me

I started by fitting the seat cowl as I thought that would be a good place to start and it would allow me to then trial fit the seat and adjust it's mounting brackets if necessary. However, with the seat cowl fitted, the rear of the seat was sitting to high at the back and would not "latch" into the seat lock properly. After a bit of head scratching, I dug out a spare frame I have and took some measurements between the two. This showed my seat lock bracket was out of line and needed "tweaking" a bit. To save damaging the powder coat, i fabricated a bracket to bolt onto the seat lock bracket to give me some leverage to line it up. A couple of "tweaks" using a pair of mole grips on my fabricated bracket had it back in line !
Measuring the height the of seat lock bracket and fabricated plate for leverage.
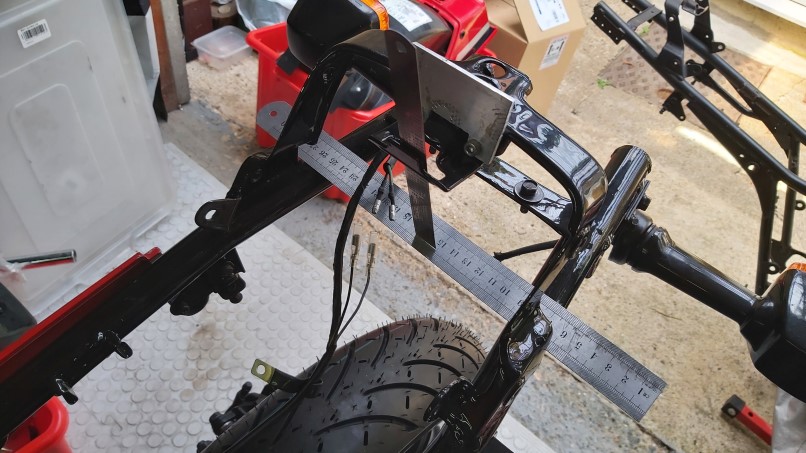
- seat bracket.jpg (111.91 KiB) Viewed 91610 times
With that now sorted, the seat cowl went on nicely and looks the part

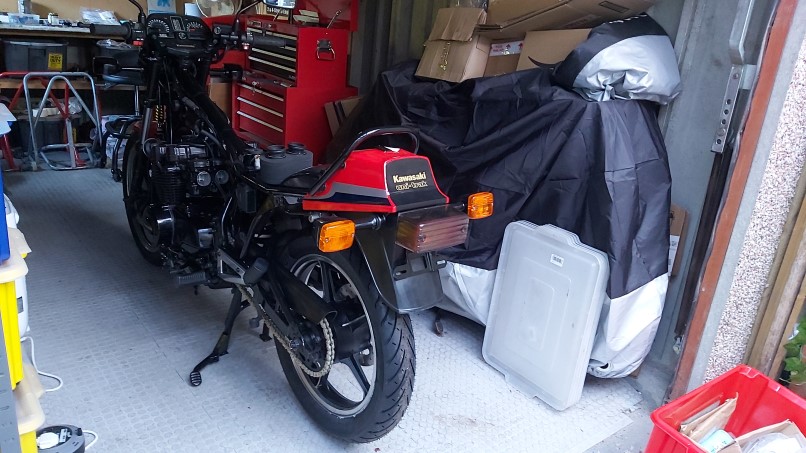
- Seat Cowl.jpg (116.39 KiB) Viewed 91610 times
The tank was next, so I fitted the locking cap and the refurbished fuel level sensor and fuel tap. Before fitting on the bike, I put a little petrol into the tank on the bench, in case any of the gaskets leaked, instead the bench started to get covered in petrol from the fuel tap outlet
The GPz uses the vacuum type tap that most Kawasakis of this era have fitted. Although I had rebuilt it using a new gasket kit, it obviously wasn't sealing. A strip down on the tap didn't reveal anything obvious, but I could suck air through the outlet pipe, which obviously shouldn't happen with no vacuum on the diaphragm. So I dug through my boxes of spares and found another tap. I cleaned this one up and then transferred the internals from my original tap to this one and tried the same test and got the same result ! I'm not sure exactly what to make of it, but I've ordered the genuine Kawasaki parts (instead of the "Tourmax" kit I used before) and I'll see if that makes any difference. I did also try searching for a replacement "manual" fuel tap, to do away with the vaccum type tap, but didn't find anything with the correct outlet orientation and size.
So I'm nearly there - just the fuel tap problem to sort and that's it (hopefully) !
Mark.
"Racing is life. Anything before or after is just waiting" - Steve McQueen


 These are little M3 screws that are about 4mm long, so not much to bite into on the tap body. Looking at the holes, they're blind, but only go about halfway into the boss on the tap body. So, I drilled through the boss and tapped it out full length, which doubled the amount of thread and fitted longer screws, which then tightened down OK


