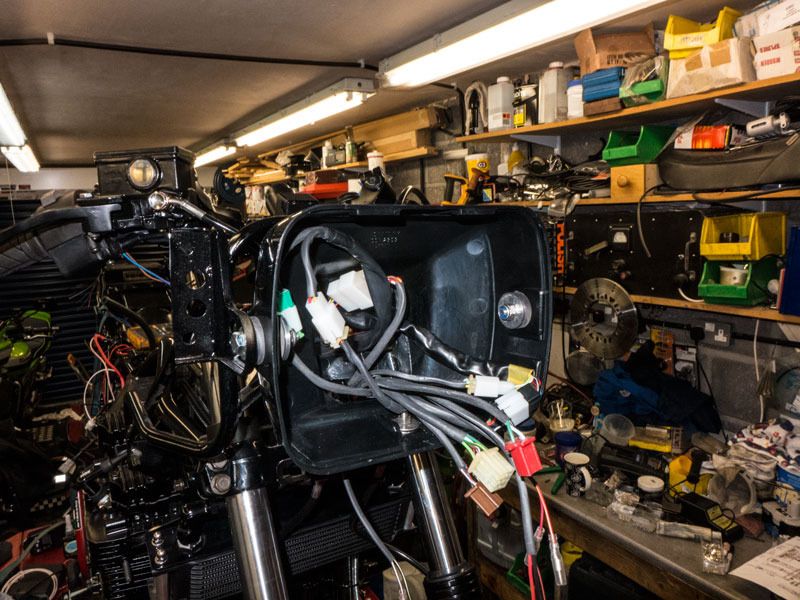
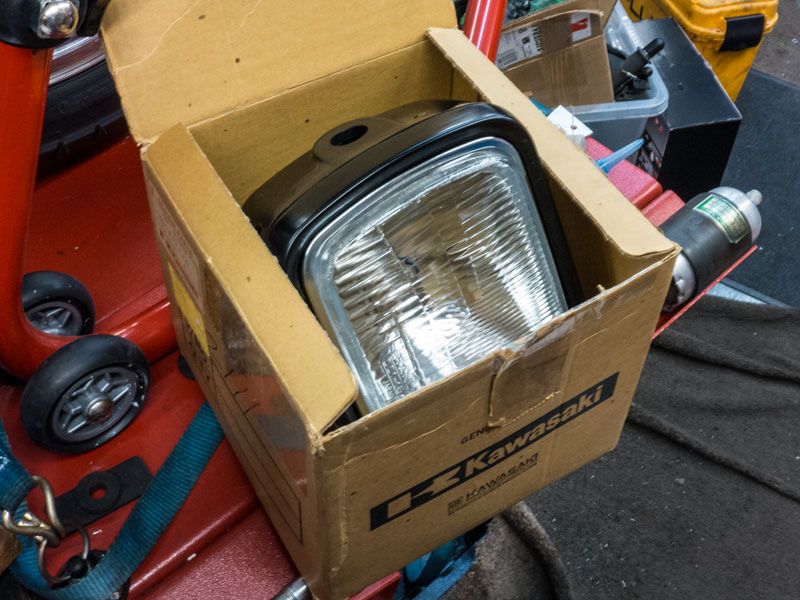
Here's a NOS headlight I bought from the states -
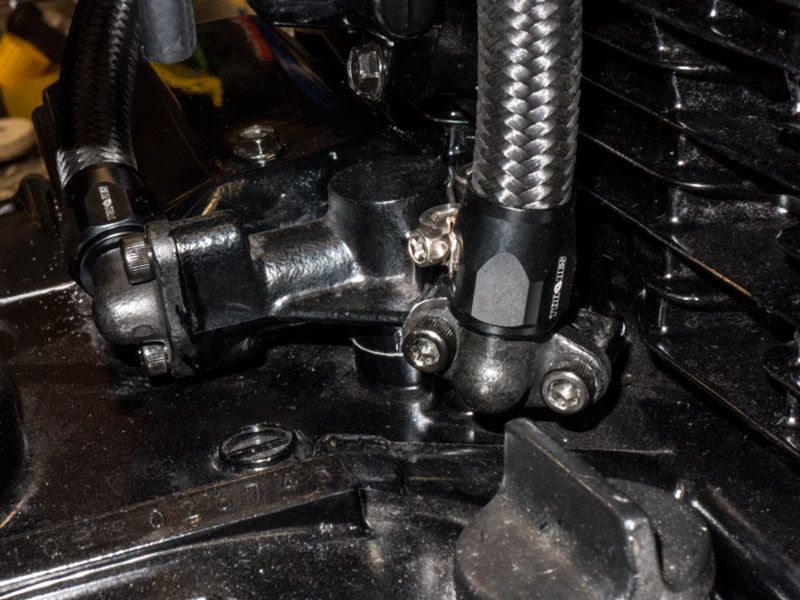
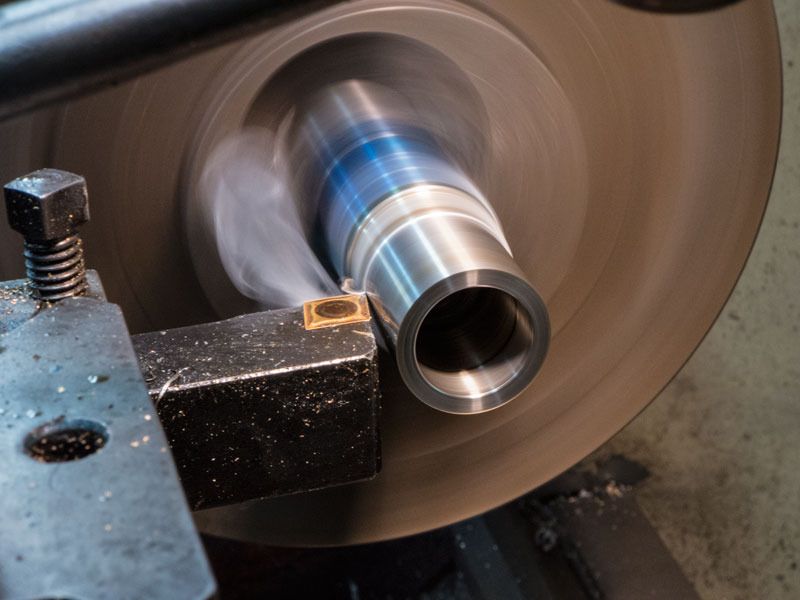
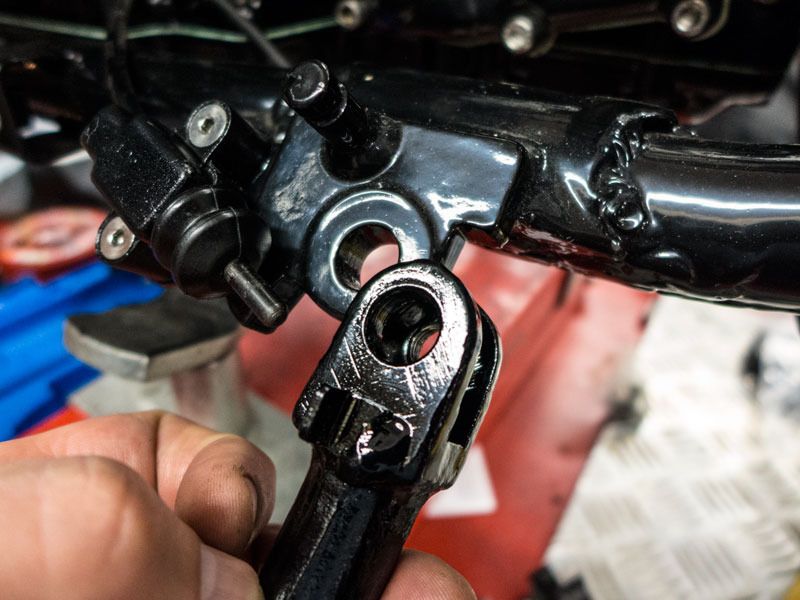
It appeared that the rear brake hadn't been fitted correctly in the past be the arsehole who last put it together so I had to make a bush for the caliper mount bit
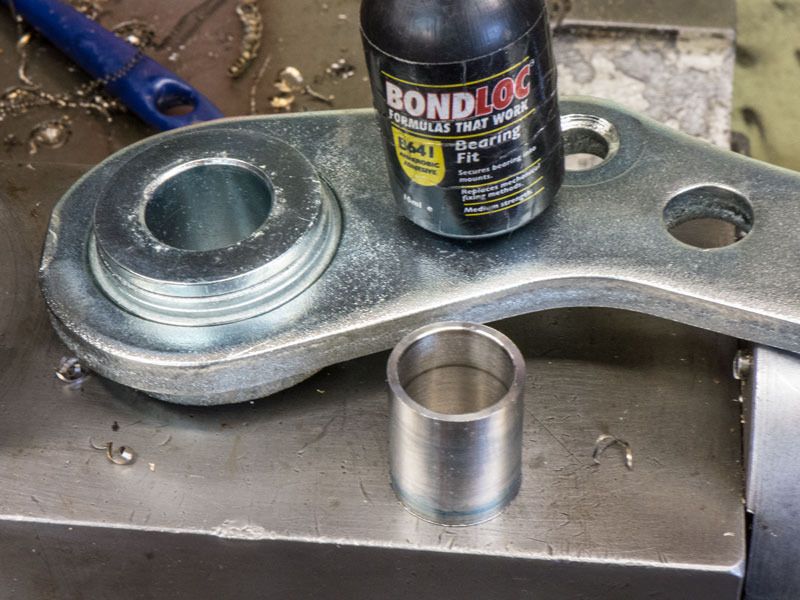
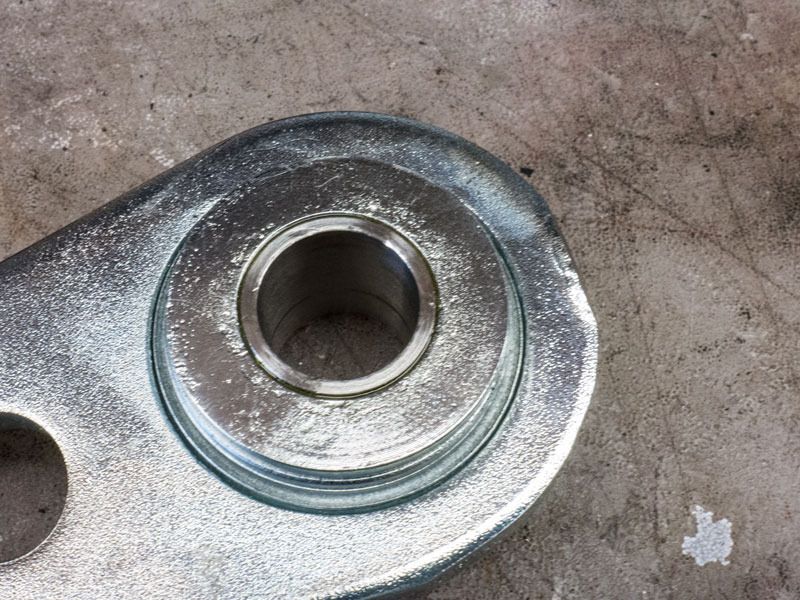
I glue the interference fit sleeve in with Bondlok bearing fit
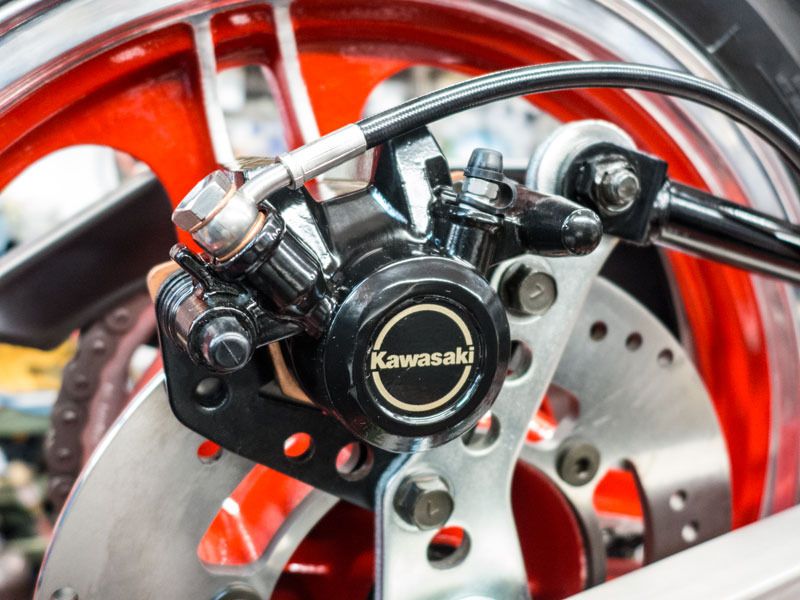
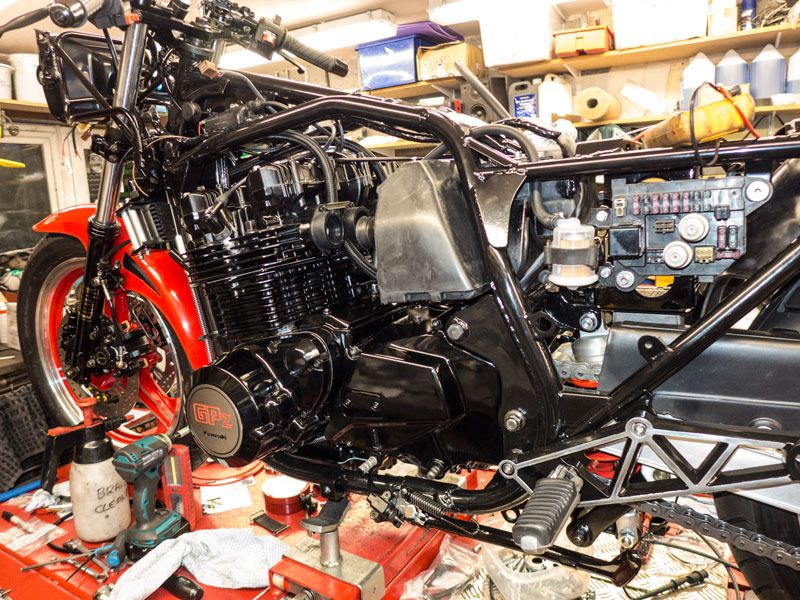
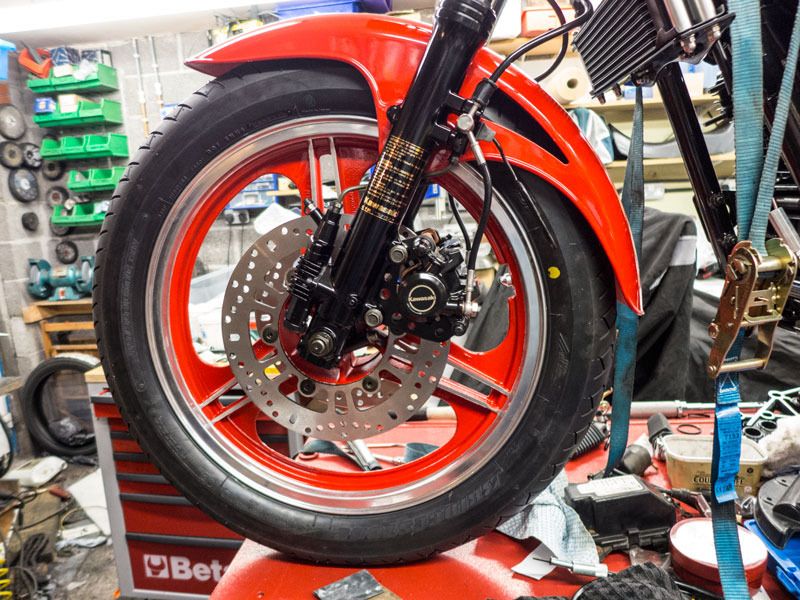
For some reason the front calipers wouldn't fit with the stock 280mm discs
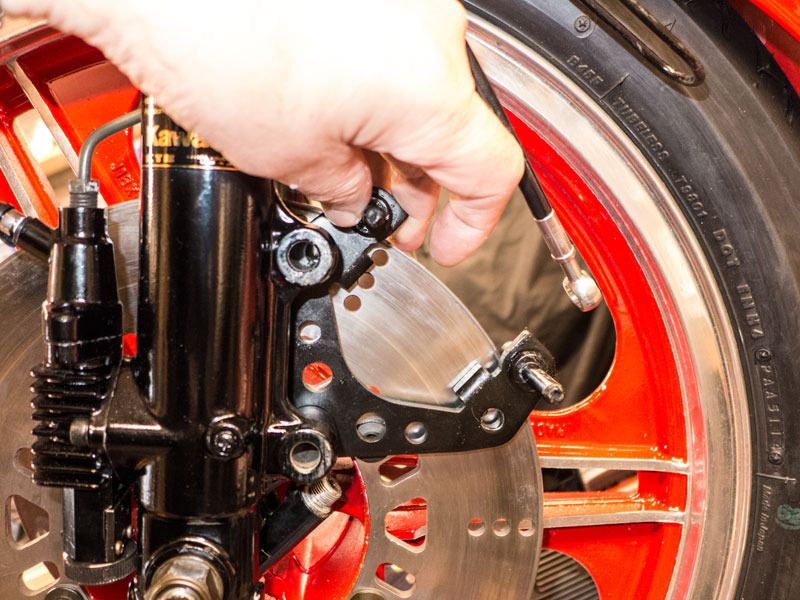
So I had to source some 270mm discs which were used on the 750. Whether my bike has the wrong forks, caliper carriers or what ever I have not idea.
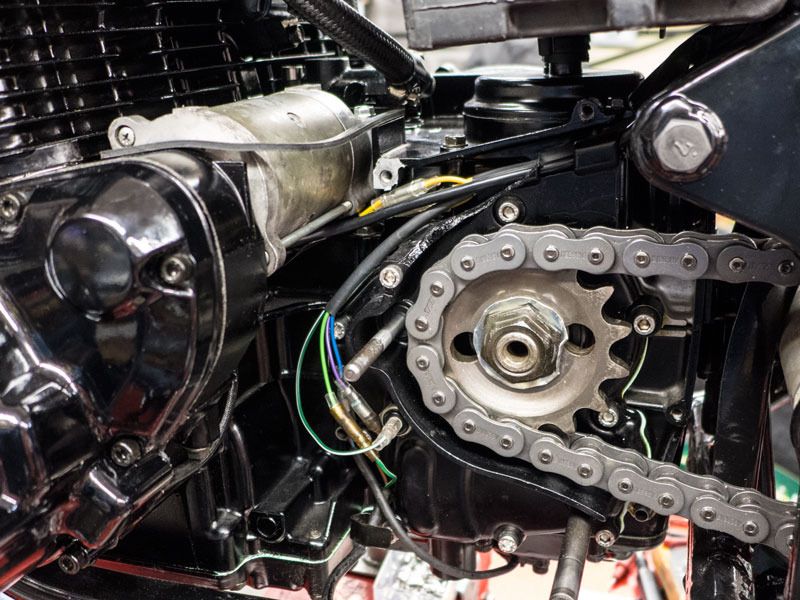
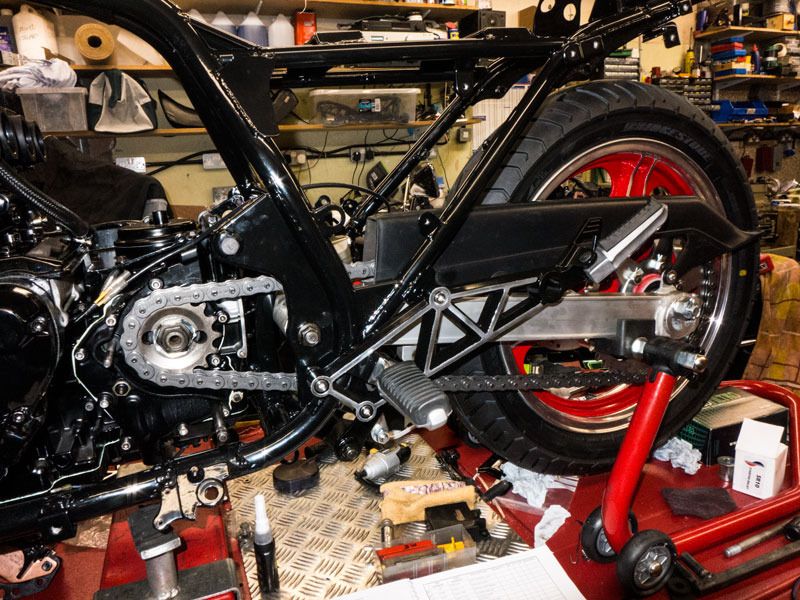
I came to fit the chain and realised that despite ordering a chain with a soft link from the wholesalers, two years later when I finally open the box I find that the sods have sent me an endless chain
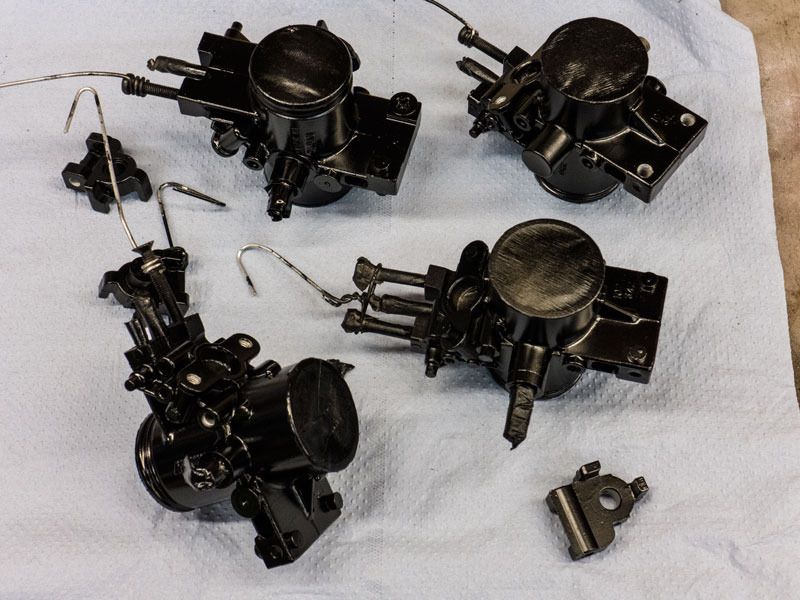
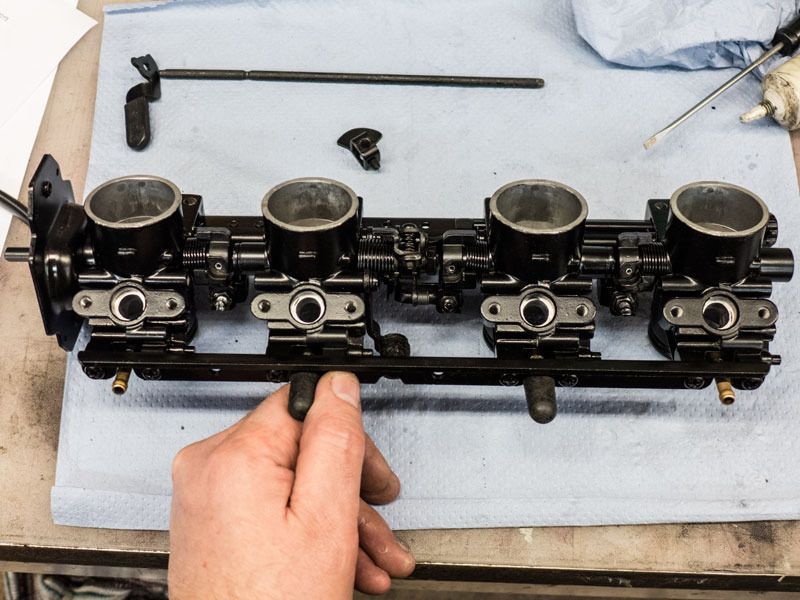
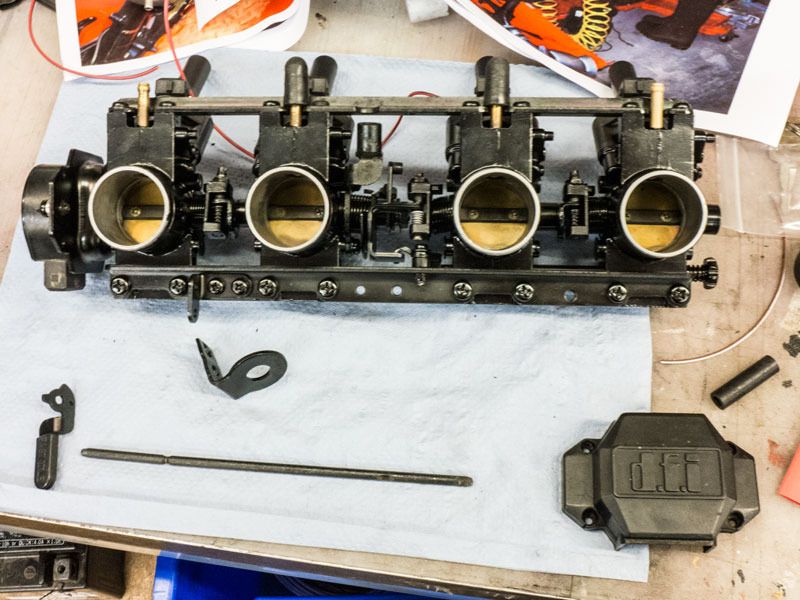
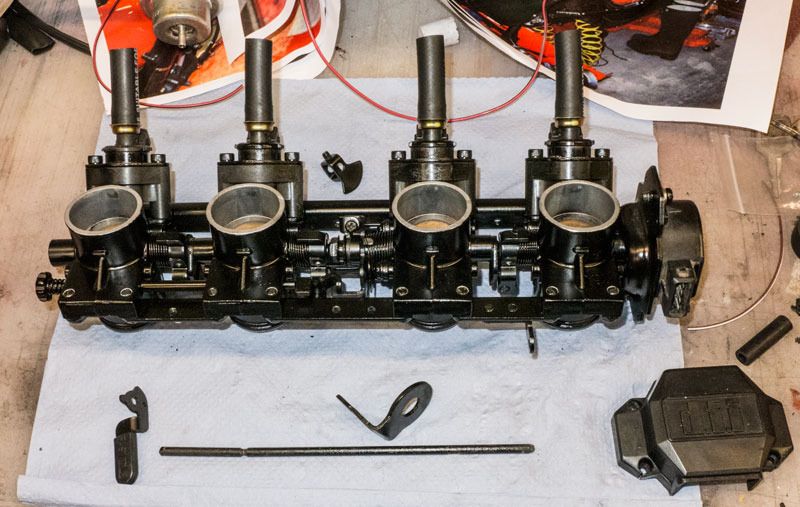
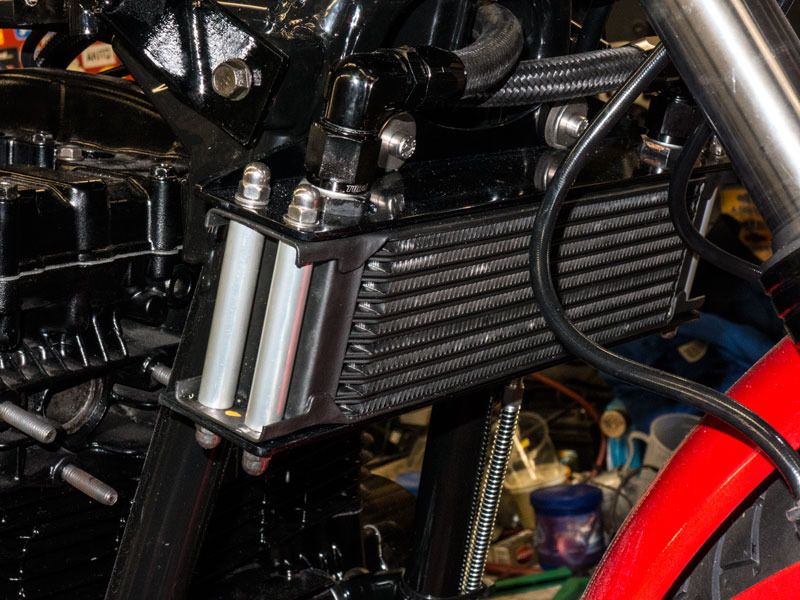
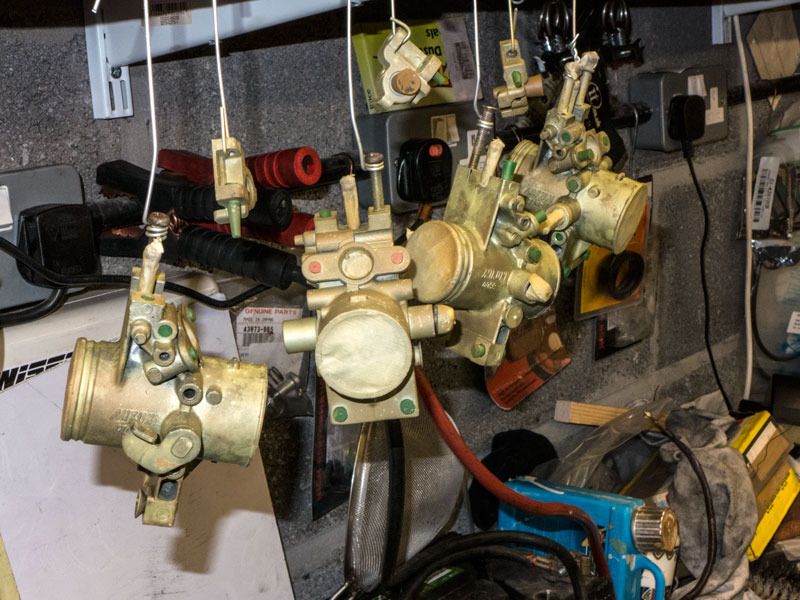
I stripped and cleaned throttle bodies and sent all the steel parts and pingfucks up to the platers as I have been getting hacked of with plating recently. I had to send up some aluminium parts including the oil cooler brackets etc for anodising so I thought I may as well send up the zinc as well.
One morning the weather was nice so I hung the bits needing paint outside on CB's washing line and started painting them with Zinc Chromate primer when it started drizzling half way through.
The was some fairly choice Anglo Saxon broadcast around Pensford that morning I can tell you!
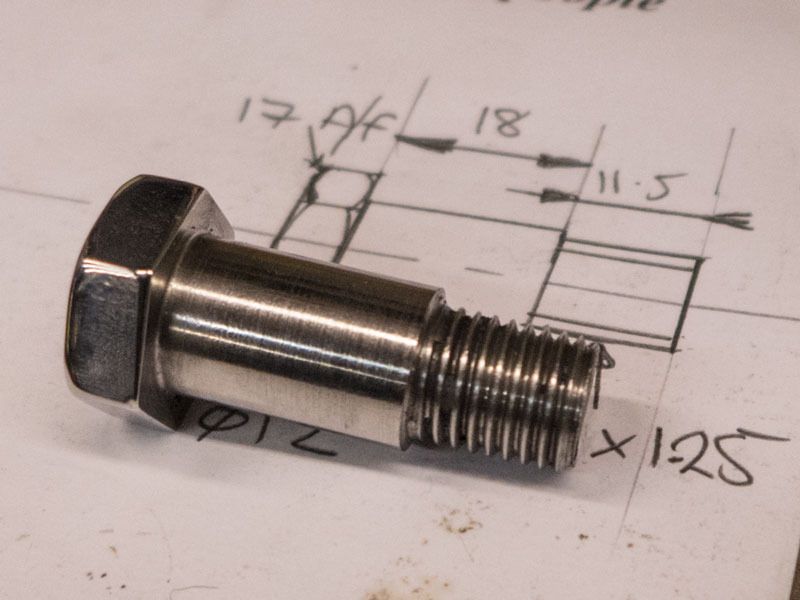
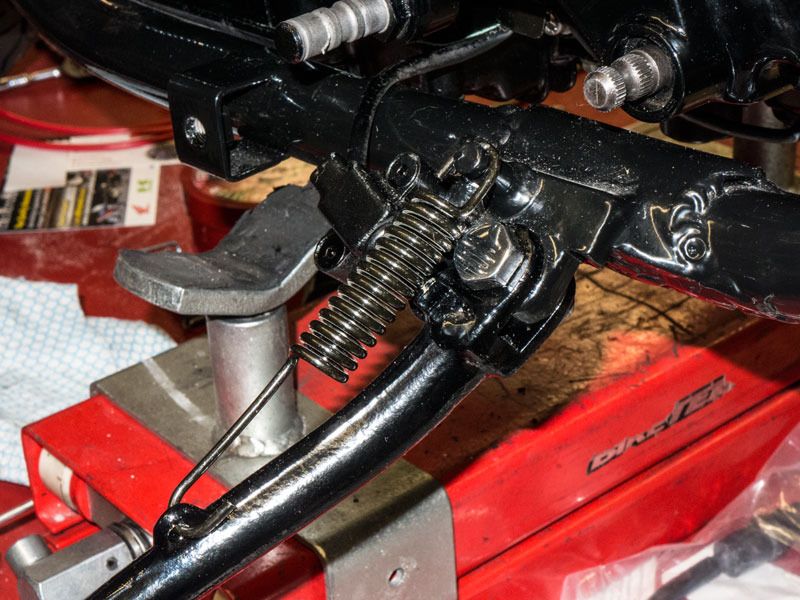
God alone knows what happened to the stand bolts some I did some measuring up for the side stand and did a rough drawing

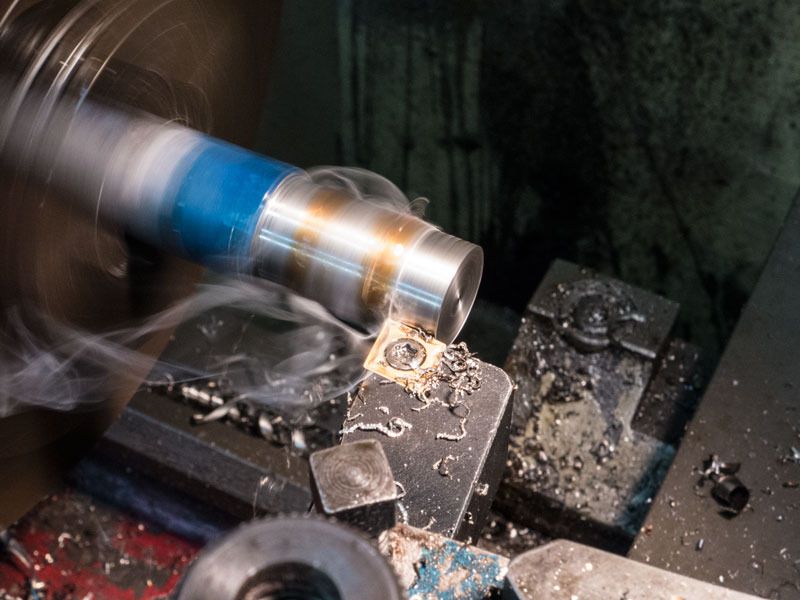
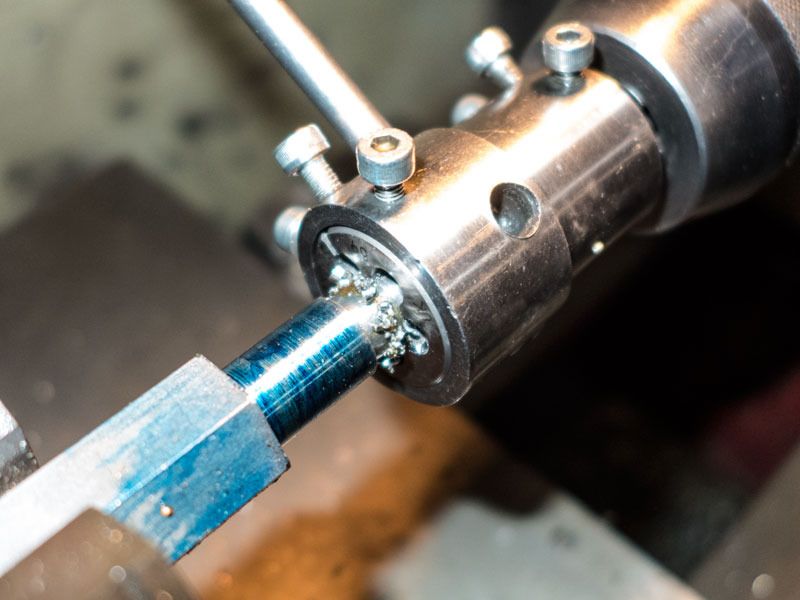
Then got busy with a lump o stainless on the lathe