Page 9 of 17
Posted: Thu Aug 11, 2016 8:11 pm
Author: MDM
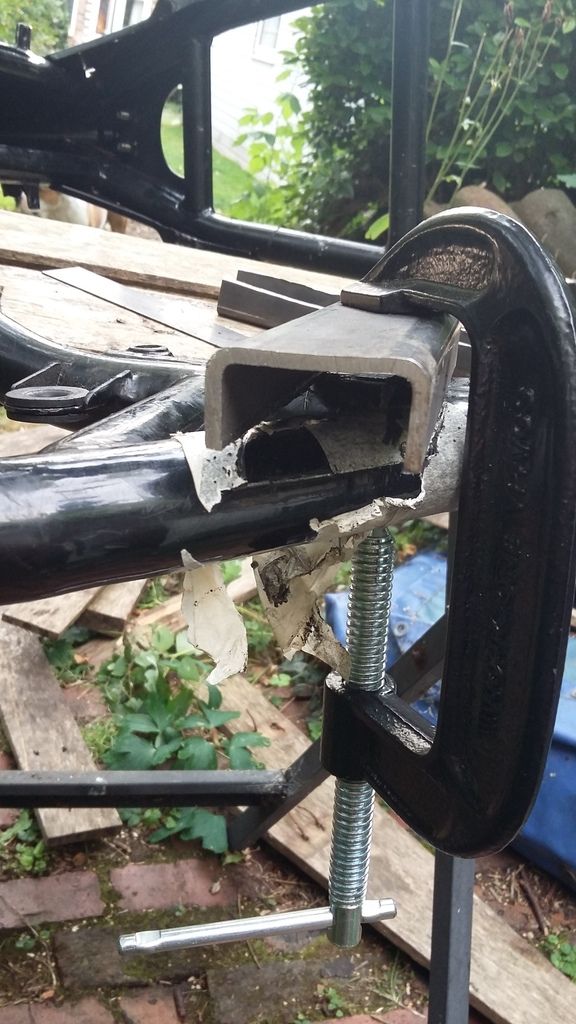
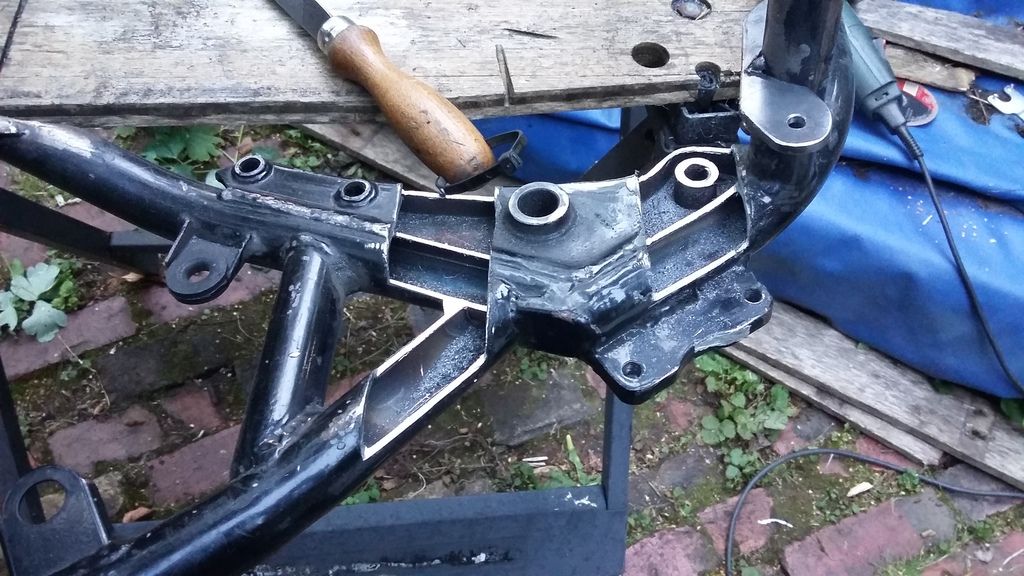
Like I said earlier, to get some decent chain clearance I was going to have to notch the inside of the frame rails or give them a twatting with a big hammer. I chose the former, mainly because I didn't want to get too giddy with the hammer and end up breaking things. Again.
I'd wrapped masking tape around the frame rails when it was built up and with a chain in place, so I could see where I needed clearance. With it all stripped down, I cut a piece of 40mm square box section steel, and split in lengthways to get two pieces of C section.
I clamped a piece on the inside of the frame, parallel with the bracing added in a previous life, and marked it up for cutting.
Posted: Thu Aug 11, 2016 8:13 pm
Author: MDM
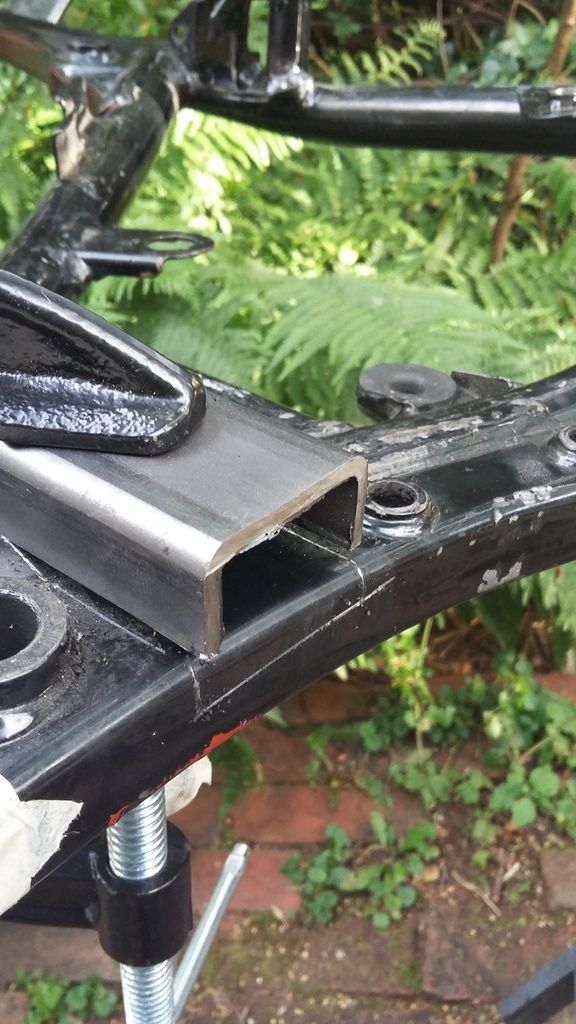
Then I got the angle grinder and files out...
And tried out one of the C section pieces for size, before marking it out and cutting it down to suit.
Posted: Thu Aug 11, 2016 8:15 pm
Author: MDM
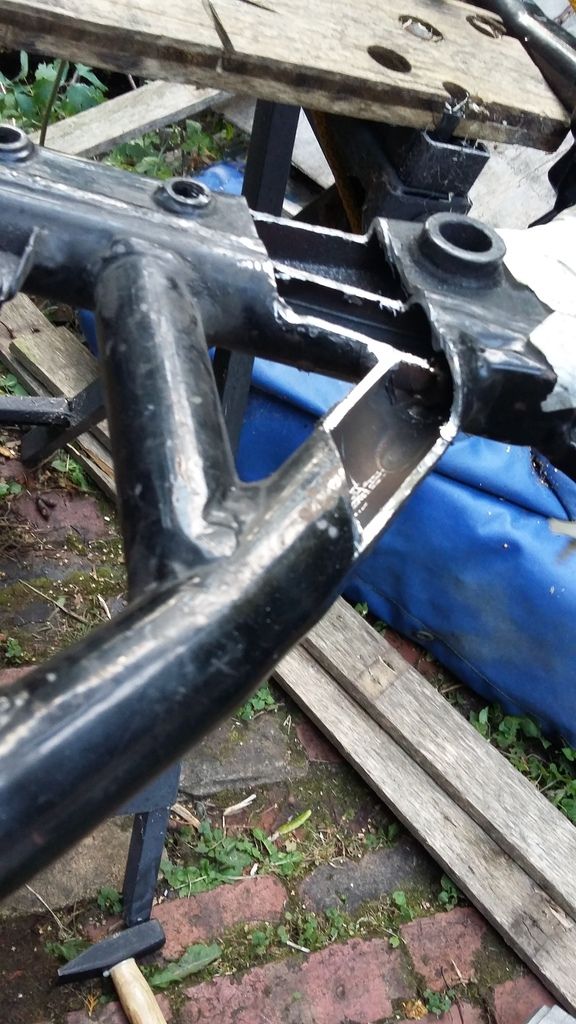
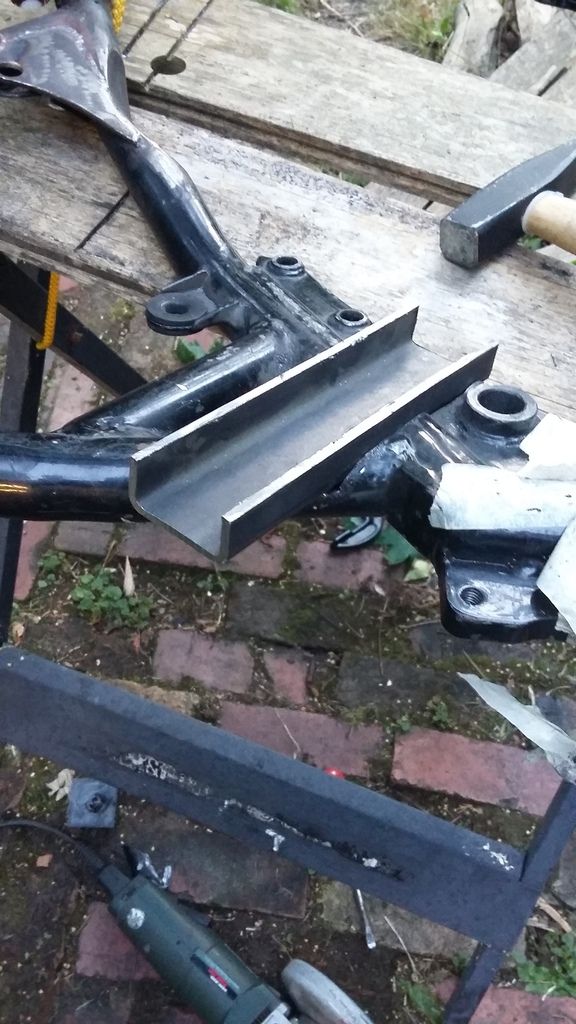
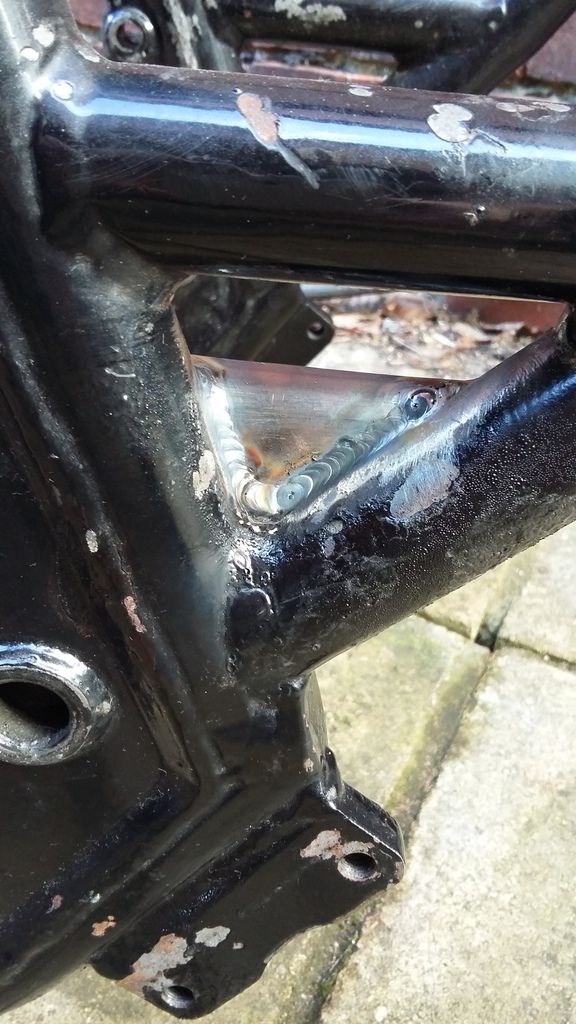
And then proceded to do the same thing for the lower chain run.
Posted: Fri Aug 12, 2016 9:15 am
Author: MDM
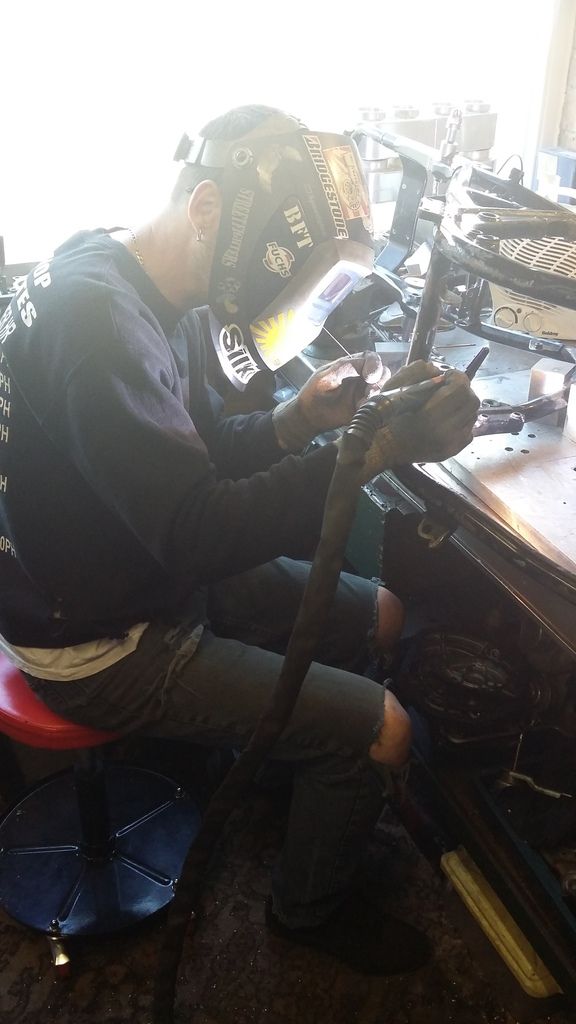
And then I took the frame to Dave Dunlop at FastByMe turbo systems, so that he could do some welding which would be of far, far better quality and structural integrity than I will ever be able to manage...
And the end result...
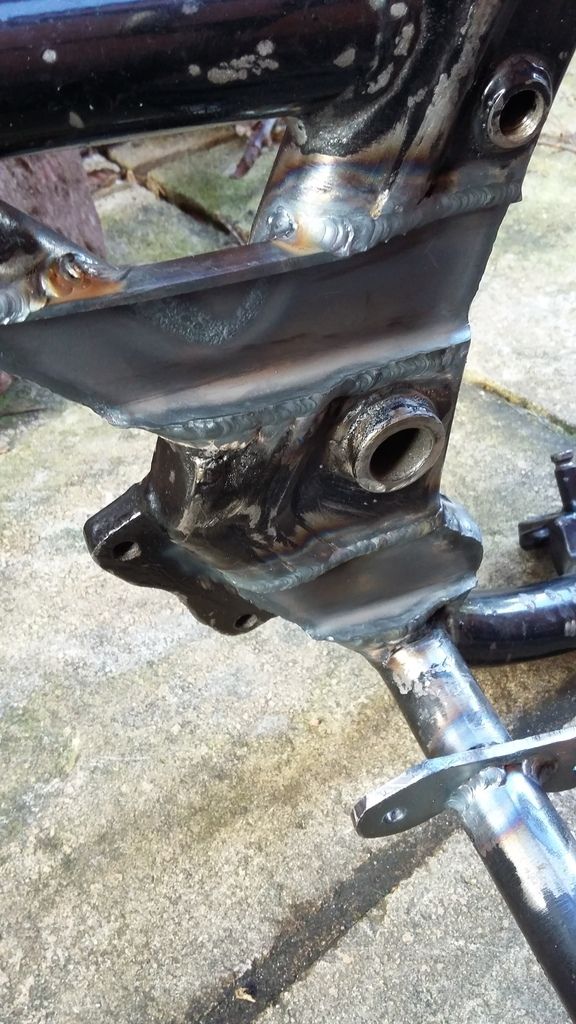
And he also blue-glued the shock extension pieces in place as well
Now I need to clean the frame up and get some paint over it.
Posted: Fri Aug 12, 2016 11:51 am
Author: ollie
some great work there and nice use of the paint stripper gun


Posted: Tue Aug 16, 2016 5:26 pm
Author: sanderz
Quality work all the way, top job
Posted: Wed Aug 17, 2016 5:07 pm
Author: Pigford
sanderz wrote:Quality work all the way, top job
+ 1

Posted: Thu Aug 18, 2016 8:46 pm
Author: MDM
Thanks fellas!

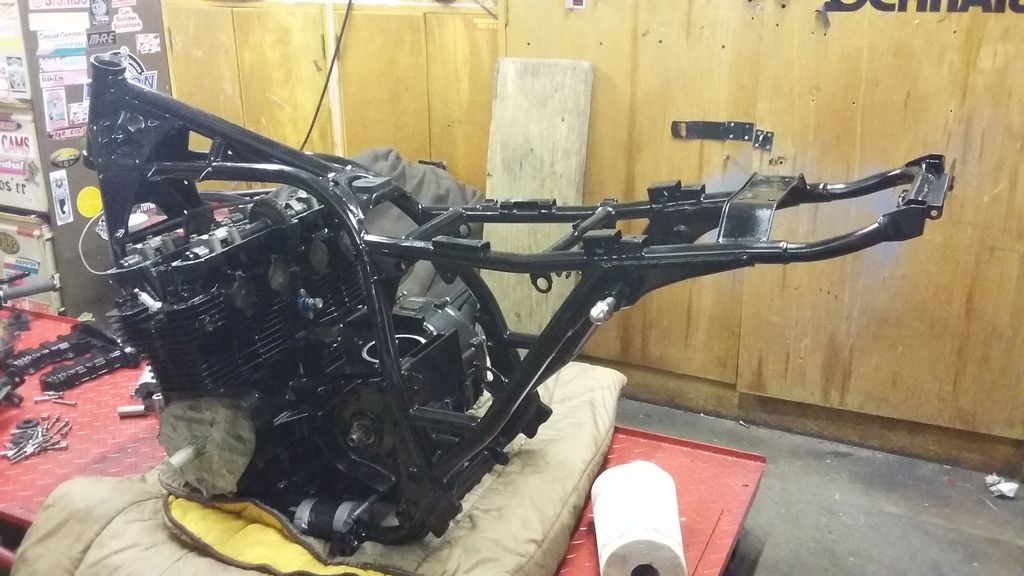
The frame ready for a coat or three of shiny black...
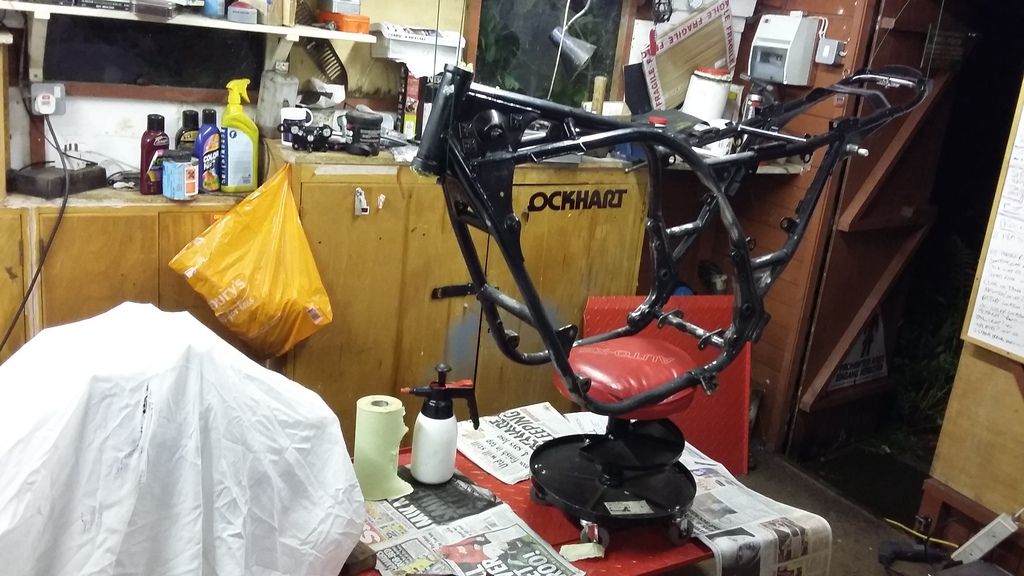
And with that done, it was delicately slipped over the painted engine.
Posted: Mon Aug 22, 2016 12:52 pm
Author: MDM
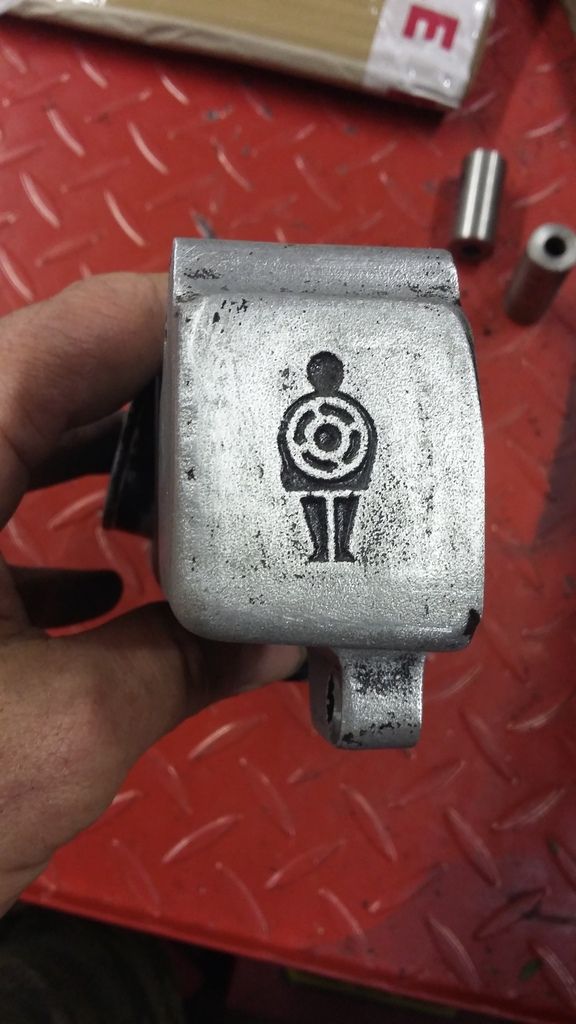
I'd painted the original cast Mr Turbo plenum a few years ago (ahem), and it was looking rather scruffy, so with the engine now all black, I decided that the plenum could go back to the original finish, so started cleaning it up
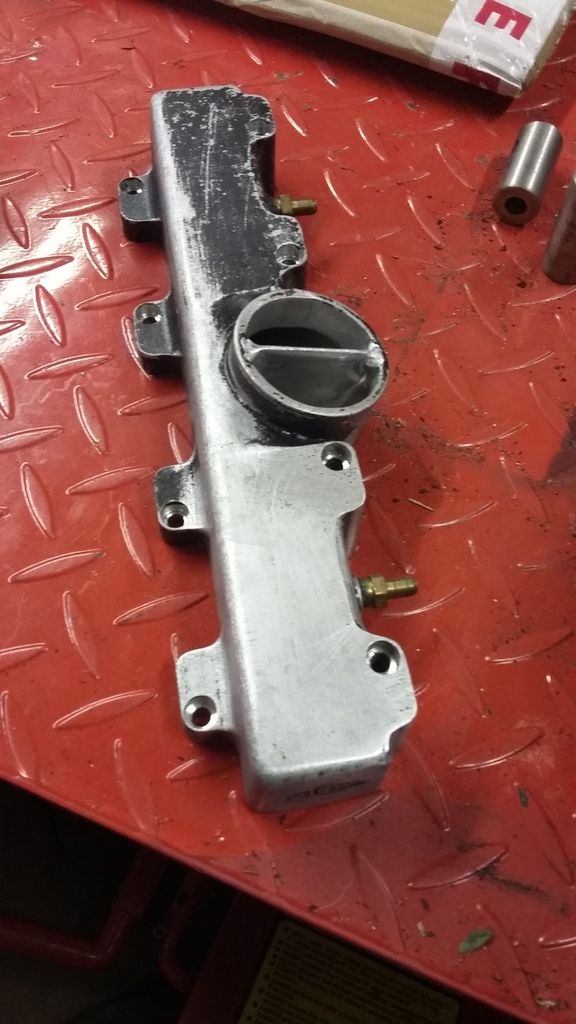
With the added side effect that the Mr Turbo logo would be highlighted
Posted: Tue Aug 23, 2016 12:38 pm
Author: Big Fluff
Dave. If you want a set of 4 composite gaskets for the inlet to plenum chamber let me know and I'll drop a set off FOC mate.

Posted: Tue Aug 23, 2016 2:17 pm
Author: MDM
Funnily enough, that is exactly what I was looking for in the shed last night! If you could mate, that'd be greatly appreciated!
Posted: Fri Aug 26, 2016 1:04 pm
Author: MDM
Updates may get a little sporadic over the next few weeks as I'm having to pack stuff for a house move, but things will still get done as I need the bike to be in one lump for the move...
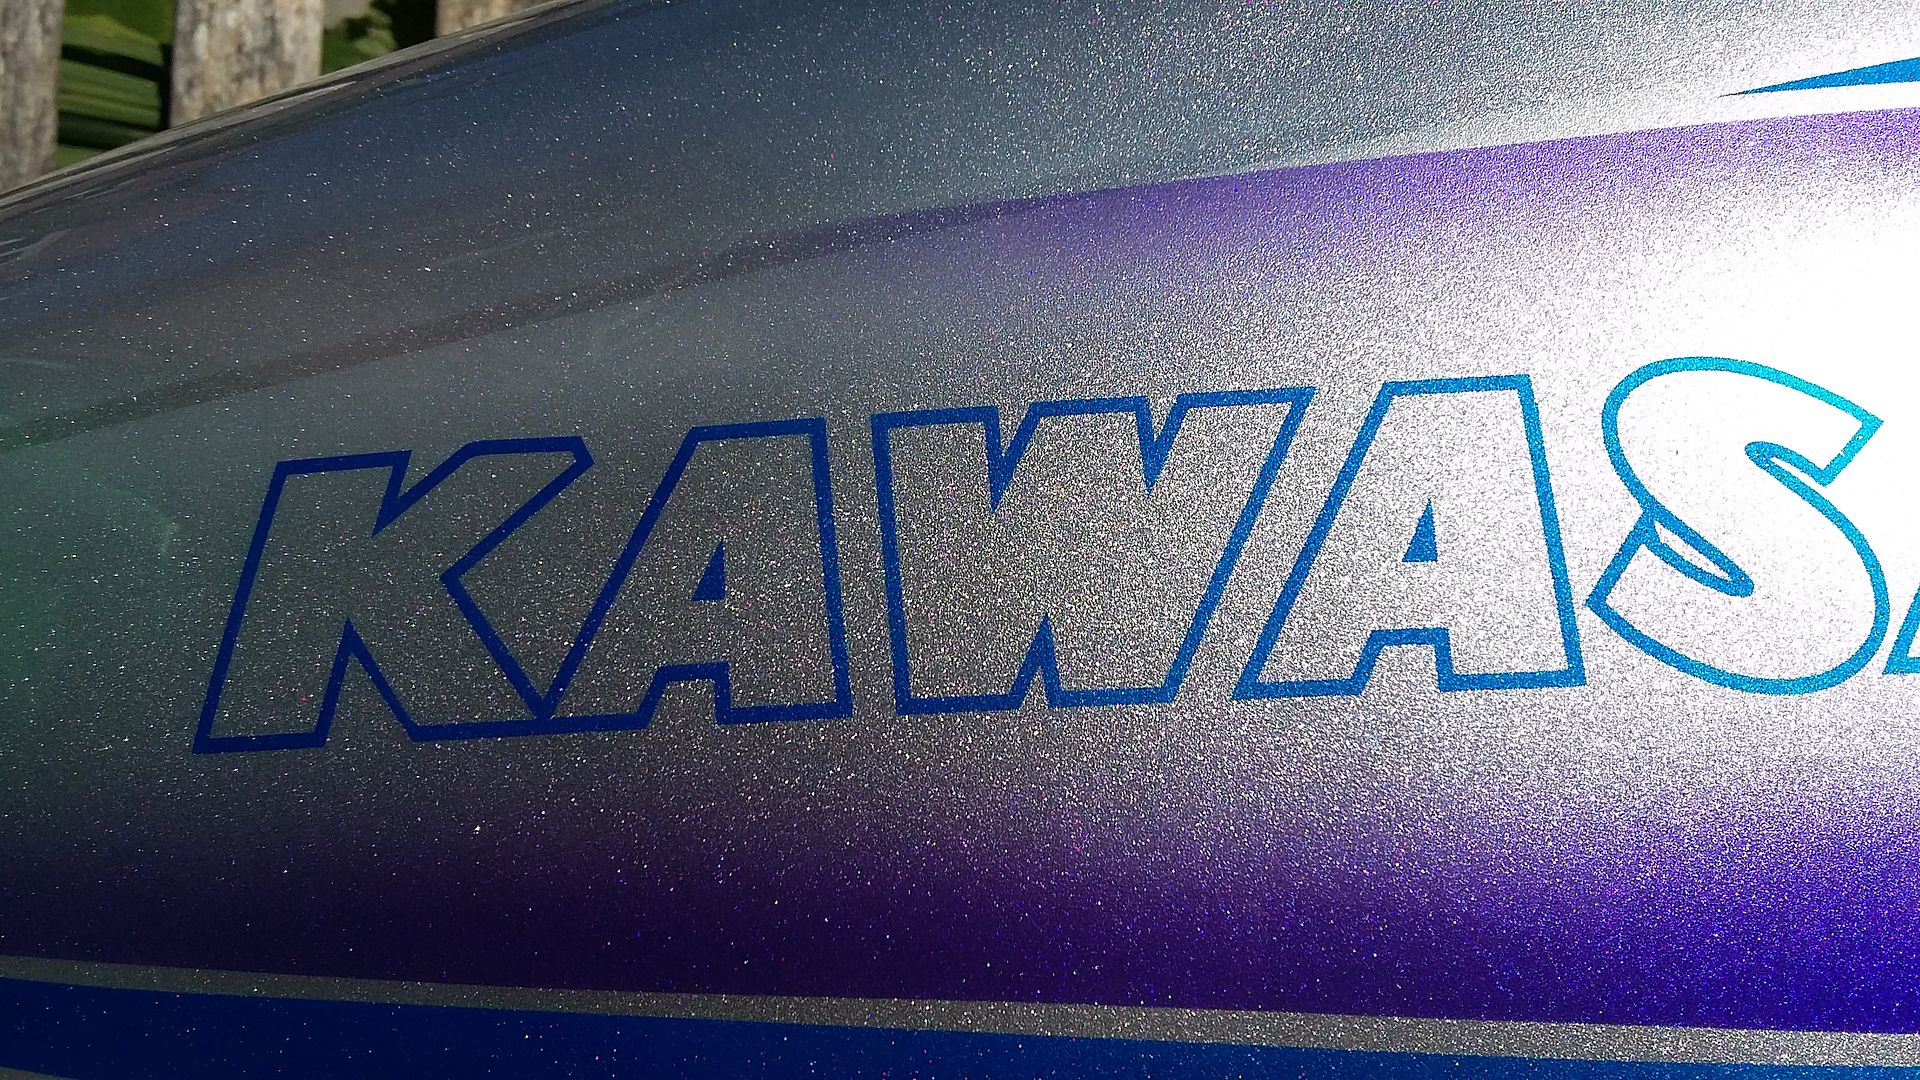
In the meantime, I popped over to see Keith at Nasty Paint in Birmingham to pick up my finished bodywork. Here's a sneaky peak...
Posted: Fri Aug 26, 2016 2:33 pm
Author: Pigford
Bling-king Hell .... that looks perty


Posted: Mon Aug 29, 2016 9:11 pm
Author: MDM
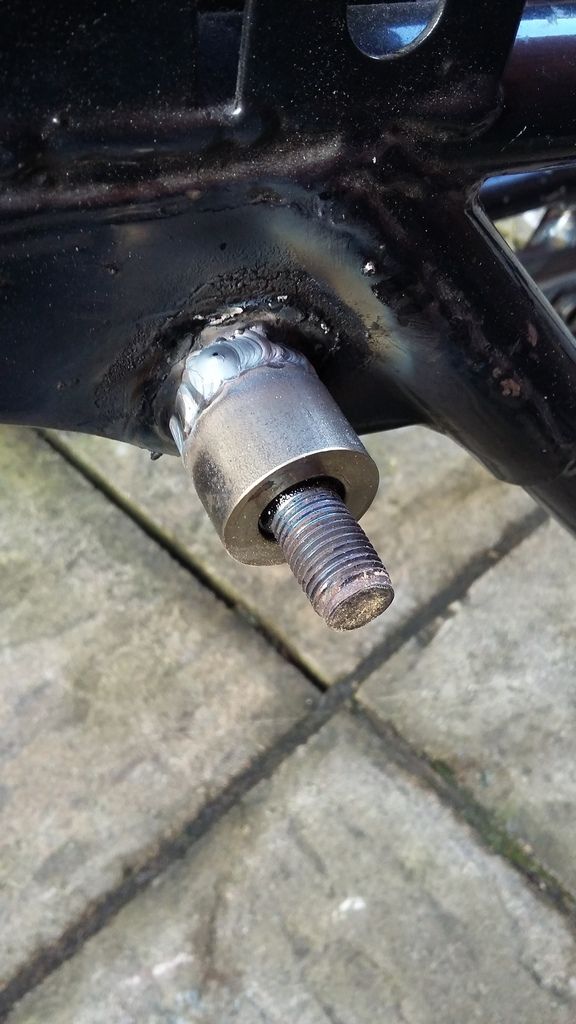
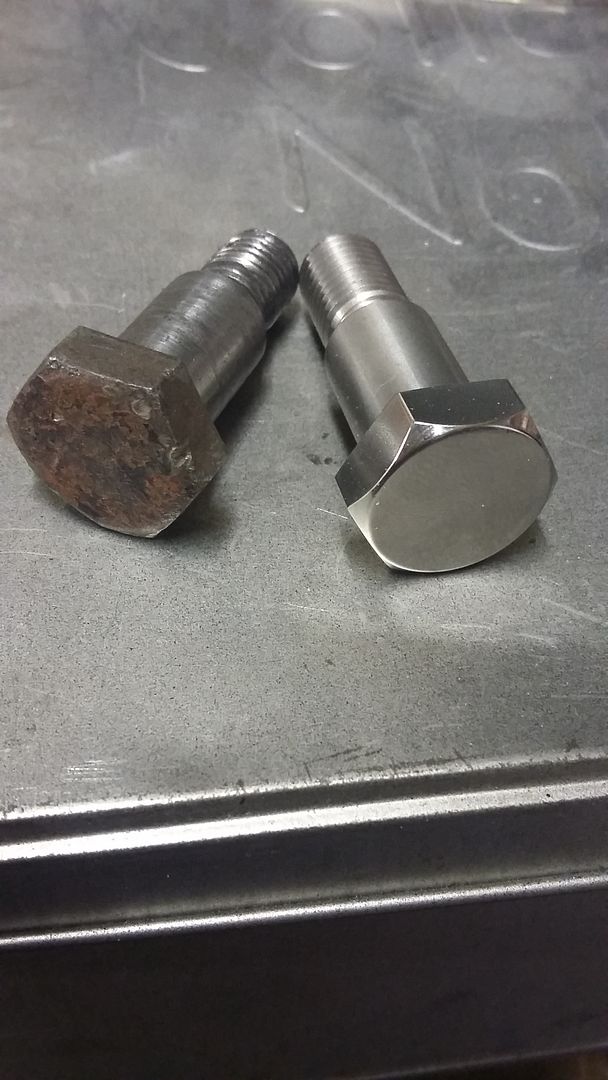
They say that the devil is in the details, so I got myself a replacement sidestand bolt in stainless, and gave it a taste of the polishing mop...
Posted: Mon Aug 29, 2016 10:21 pm
Author: Is Vic There
Nice work, great welding and the tank colour is stunning


