Hello Guest User,
Please feel free to have a look around the forum but be aware that as an unregistered guest you can't see all of it and you can't post.
To access these 'Registered Users Only' areas simply register and login.
Please feel free to have a look around the forum but be aware that as an unregistered guest you can't see all of it and you can't post.
To access these 'Registered Users Only' areas simply register and login.
MkII Aussie Rebuild
Moderators: chrisu, paul doran, Taffus, KeithZ1R


-
big green bus

- Custard Cream

- Posts: 794
- Joined: 2nd Apr 2006
- Location: durham


Cheers for the compliments.
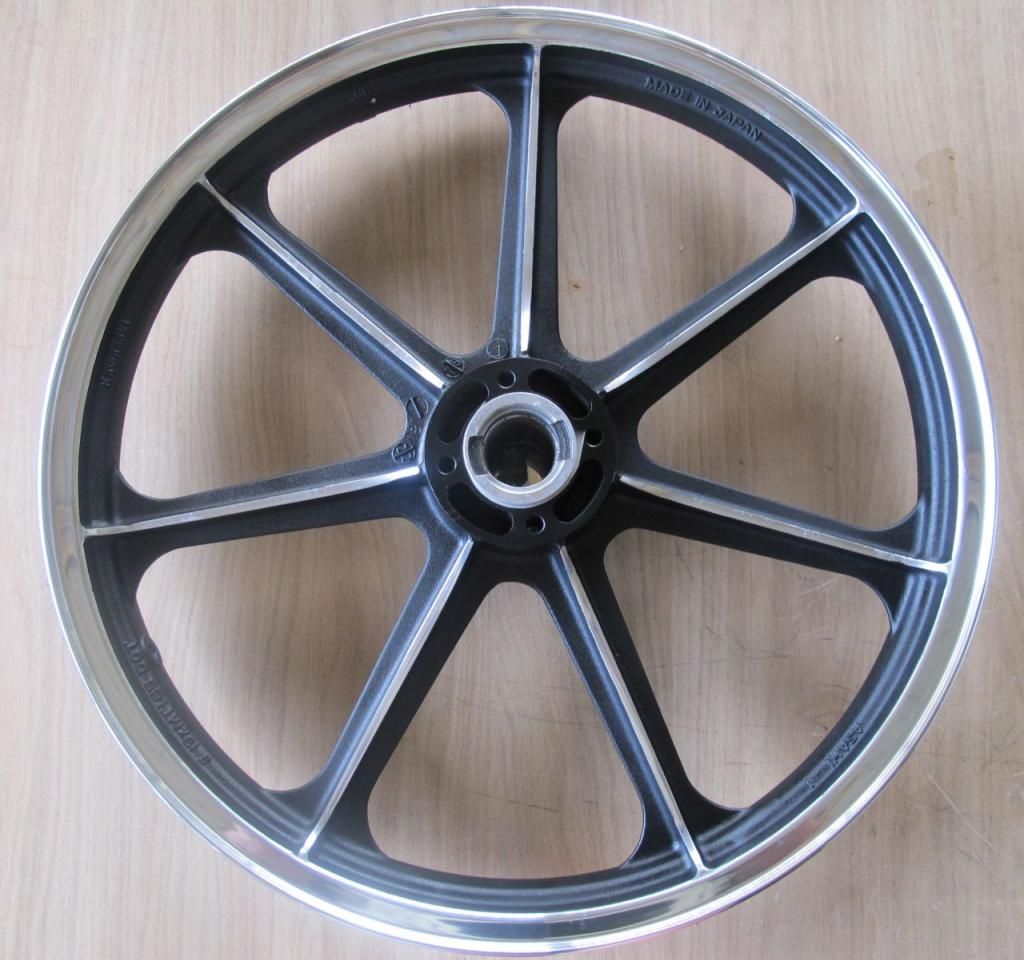
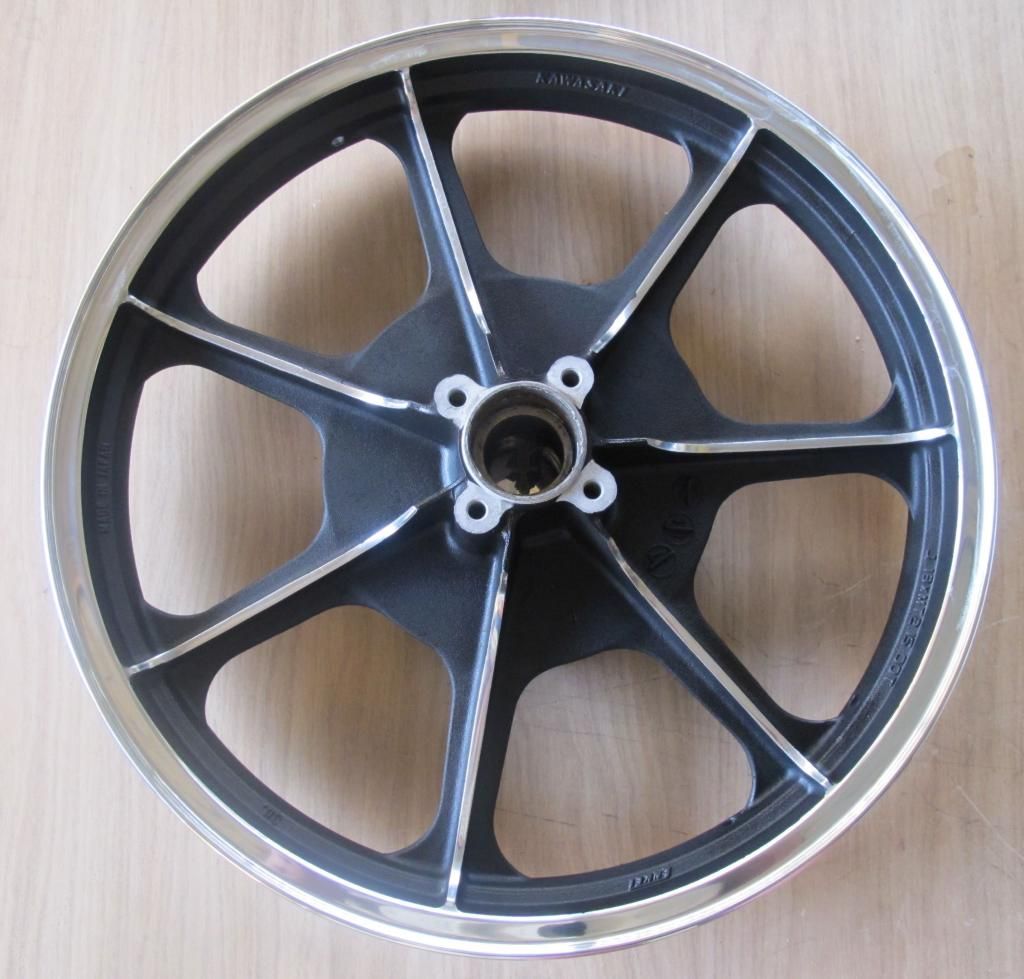
Well up to the wheels now and l %#@ up big time. I had a brain freeze and went and had both wheels sandblasted. Instructions were to blast the paint of, well, they went and blasted the whole bloody wheel, including the machined edges of the spokes and the outer rim.
I know, I know, soda blasting or paint stripper yeah yeah lesson learned
Absolutely stuffed the originality of both my rims........... To fix it I had to polish the pitting out of them which in turn has rounded off the edges of the spokes and lost the little inner lip of the rim. They are trademark memories for me on my original MkII back in the day.
The good side is I 'think' I know where some original rims are. Yes I am being fussy but these rims belong on a showy bike now damn it, lol.
Thanks to Z1BMan who gave me the tip on Wurths Satin Black I have at least got that part right. Very happy with the paint outcome.


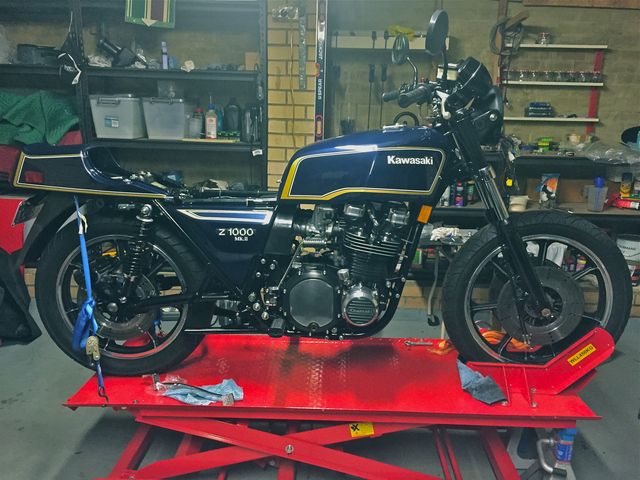
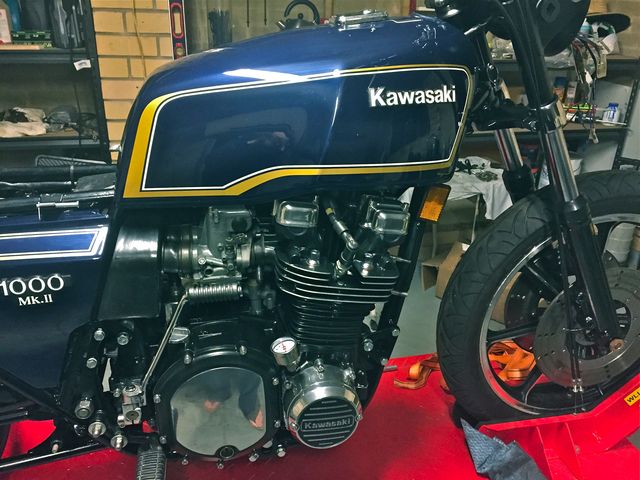
In between renovating our house, a new grandson and of course work I have been finding time to inch closer with the MkII. Halfway through the electrics which is always fun, with the brakes and a few fiddly bits left to do then the big moment of hooking up a battery, checking all systems and giving the button the big push.
Still deciding what to do with the seat, Webike haven't got any complete ones in stock and doesn't look like they will be there for sometime. So find a decent cover and get it done locally.
A few photos from the phone tonight in the shed
Still deciding what to do with the seat, Webike haven't got any complete ones in stock and doesn't look like they will be there for sometime. So find a decent cover and get it done locally.
A few photos from the phone tonight in the shed


 looking great Nico
-
Aztec Warrior
- 100Club

- Posts: 384
- Joined: 19th Oct 2014
[quote="nicomkii"]
A few photos from the phone tonight in the shed
Well done, looking really good. A very nice read too on this wet Sunday morning in the UK. It looks a real treat. My MkII from 20 years back was also a shade of blue, and a bit different to the non standard ST I own today?
Love your shed too, looks about four times bigger than my house.....!
Good luck.
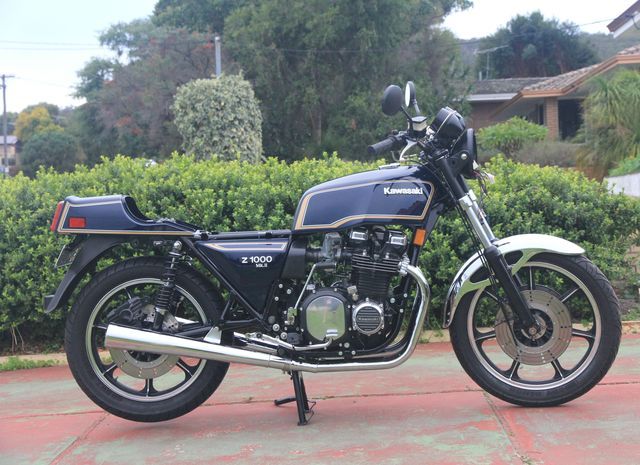
Wheeled her outside for a bit of a look and photo shoot. So where are we at-
about 30% more of the electrickery to complete, waiting for exhaust collars to come back then 4 into 2 system gets fitted. Brakes to be done with new lines and that is almost it apart from the seat.

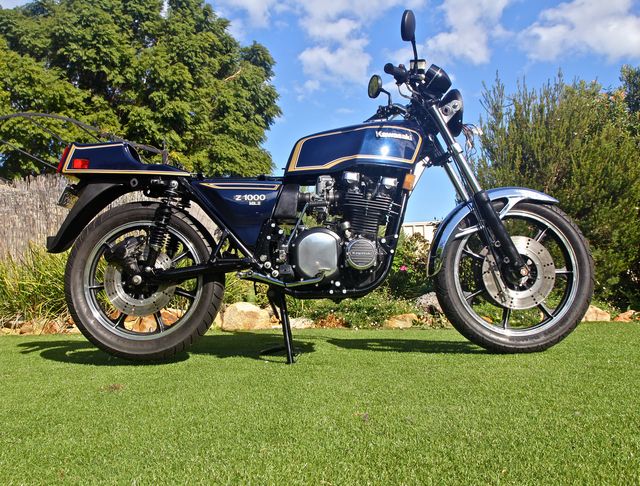
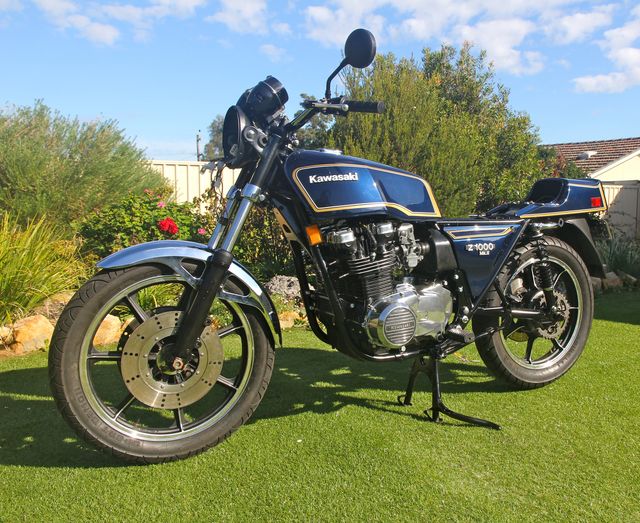
Its not concourse and was never meant to be. But any pointers will be greatly accepted and considered.
about 30% more of the electrickery to complete, waiting for exhaust collars to come back then 4 into 2 system gets fitted. Brakes to be done with new lines and that is almost it apart from the seat.


Its not concourse and was never meant to be. But any pointers will be greatly accepted and considered.
-
Aztec Warrior
- 100Club
- Posts: 384
- Joined: 19th Oct 2014

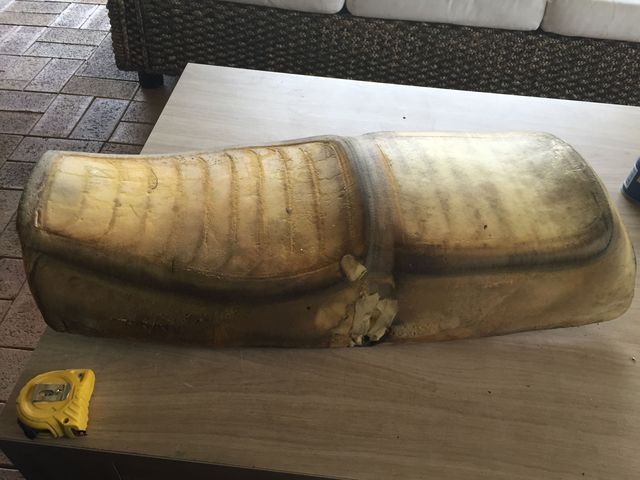
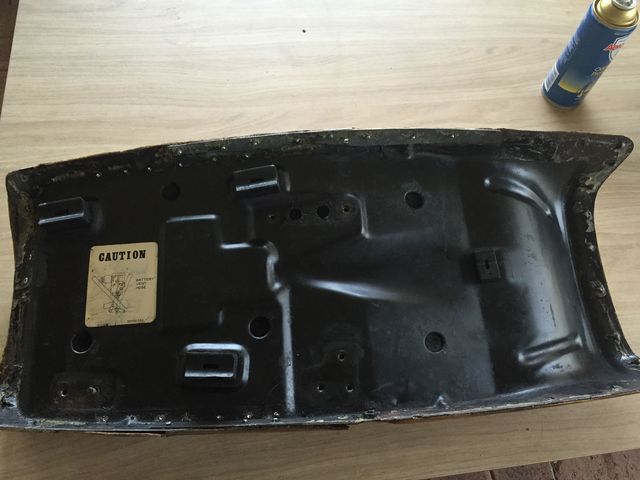
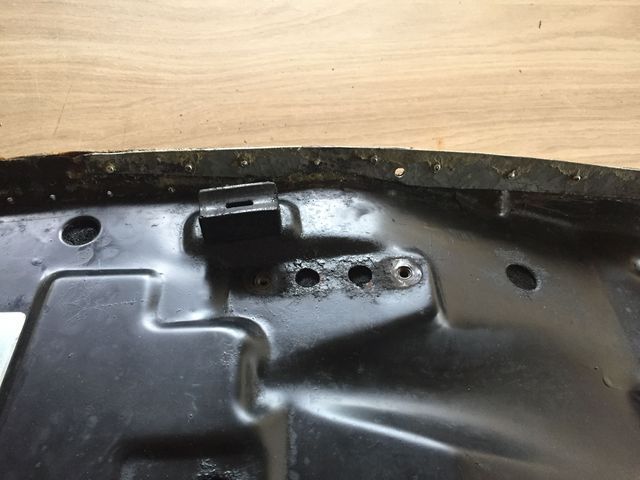
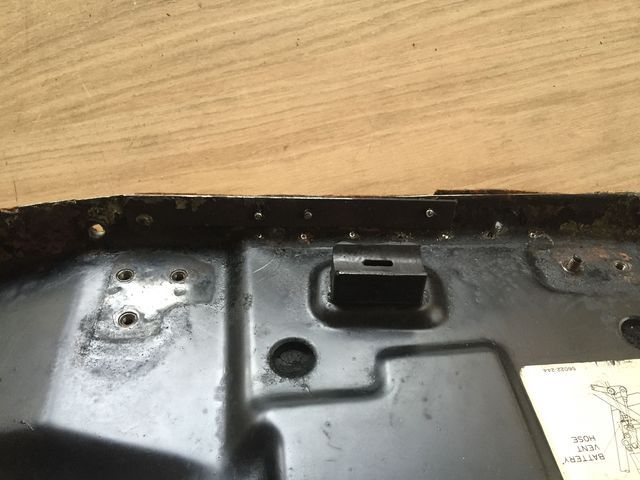
Stripped the cheap cover off the seat to check out the base and decide a way forward. Was hoping to get a PMC seat complete but looks like they are rare as the proverbial.
Can see the repairs done in an earlier life that look uhm, functional. Took to the foam with a heat gun tentatively and try to soften the glue to keep the foam intact but that wasn't going to happen so stopped that quickly to ponder ye choices.
One idea is to get a cheap replica cover to get me by as I keep the search going hence leaving the foam as is.
or 2 is to go hell for leather, strip and fully repair original base guessing that under the foam is not going to be a pretty sight after seeing under the cover.
Im leaning to No.1 plan.


There was a bit of interest when I put up pics of the replica exhaust. Finally got around to a 'loose' fitting which was pretty straight forward. The pipes align well and no force was required. However both brackets will need a touch filed off as they foul with the welds behind the rear footrest fittings.


One of the brackets may need a twist, I am a little OCD with evenness and the LHS looks like it kicks out just a little more.
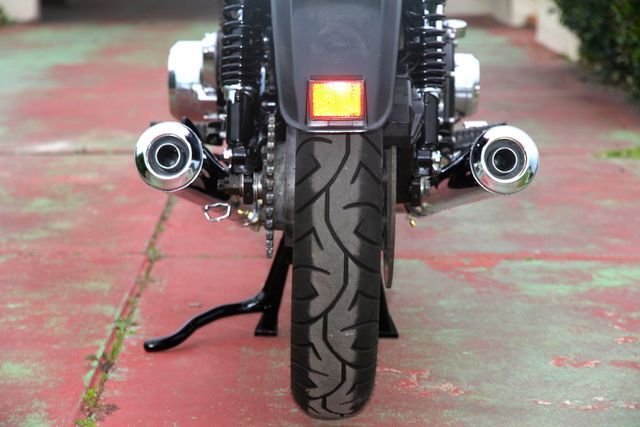


One of the brackets may need a twist, I am a little OCD with evenness and the LHS looks like it kicks out just a little more.

Who is online
Users browsing this forum: No registered users and 62 guests