Hello Guest User,
Please feel free to have a look around the forum but be aware that as an unregistered guest you can't see all of it and you can't post.
To access these 'Registered Users Only' areas simply register and login.
Please feel free to have a look around the forum but be aware that as an unregistered guest you can't see all of it and you can't post.
To access these 'Registered Users Only' areas simply register and login.
Z1000J Build
Moderators: chrisu, paul doran, Taffus, KeithZ1R
-
LeeJackson
- 100Club

- Posts: 458
- Joined: 17th Oct 2015
- Location: Aberdeen, Scotland
-
LeeJackson
- 100Club
- Posts: 458
- Joined: 17th Oct 2015
- Location: Aberdeen, Scotland
-
LeeJackson
- 100Club
- Posts: 458
- Joined: 17th Oct 2015
- Location: Aberdeen, Scotland


Anything in particular?
The way the loom makes a giant redundant loop under the lower yolk hanging precariously, ready to pull all the connectors out of the headlight shell whilst acting as a steering damper and occasional lock-stop, or the way it bends awkwardly up behind the headstock before tangling with the coils and then splitting in two over the airbox and fitting into two spaces that aren't actually there.
The jungle of mess around the fuse box is a mystery to me even now and the overall tightness of the bends must be legendary as well.
I had a couple of photos which i originally took some time back. They were before digital was invented so actual photos. If i can find them i could photo them but which bit??
AL
1981 J1
-
LeeJackson
- 100Club
- Posts: 458
- Joined: 17th Oct 2015
- Location: Aberdeen, Scotland
-
LeeJackson
- 100Club
- Posts: 458
- Joined: 17th Oct 2015
- Location: Aberdeen, Scotland
I'm sorry Lee the photos' are gone. They dont relate to my set-up any longer and i recall ditching them about a year ago now for that reason.
Anyhow yes the front part of the loom beyond where the handlebar switchgear plugs in, always seemed about three or so inches too long and would hang down a very long way below the bottom yolk. The headlight shell was completely rammed and there was not any room to pull the loom up into the shell to make it look less conspicuous. I dont have a headlight any longer but the spine of the original loom is still there. I have pulled it up and cable tied it to a bracket, and what was 'switchgear' is now a pair of rocker switches mounted on the top yolk so i dont have that massive loop hanging down now.
AL
1981 J1
-
LeeJackson
- 100Club
- Posts: 458
- Joined: 17th Oct 2015
- Location: Aberdeen, Scotland
Guys
Just been measuring up for what offset I need on the front sprocket and looks to be 5/8". Has anyone else done this conversion on a J? I am worried the chain might be a little close to the frame, but seems like loads of clearance to the tire, so maybe worth moving it in a little on the carrier? But wanted to get some second opinions before I do so. Will the chain rub on the frame with 5/8" offset?
Cheers
Lee
Likely not but it is very close. I bought a 5/8 (15.5mm) offset, front 17 tooth, for 530 chain from M&P for £17.
052817 528.17 from a ZZR
http://www.mandp.co.uk/index.php/defaul ... ocket.html
The splined boss is slightly shorter along the splines than you need so if you get a couple or three of the splined washers that go with it, you can put them in front or behind the sprocket to fine tune exactly what you need!
I ended up having to twist the engine slightly in the frame using washers on both front and rear mounts (different amounts for each) because i couldn't get the front and rear sprockets to line up no matter what i did!!!
Have you got the 'anti fall off' arrangement for youre existing front sprocket?
AL
1981 J1
-
LeeJackson
- 100Club
- Posts: 458
- Joined: 17th Oct 2015
- Location: Aberdeen, Scotland
Used to be in tech corner but here is a copy of several pages that may be of interest.
http://s254.photobucket.com/user/zorded ... t=3&page=1
This isnt the sprocket mentioned above but because it routinely see full throttle in top i decided to weld what would be the 'tabs' of the modification kit, directly to the sprocket itself. Ive done the same to the ZZR sprocket. This one's an 18 T from Talon / Debbens. The bit not shown is the cupped, splined, 'bolt head lock washer'.
Messy but effective!

AL
1981 J1
-
LeeJackson
- 100Club
- Posts: 458
- Joined: 17th Oct 2015
- Location: Aberdeen, Scotland
-
LeeJackson
- 100Club
- Posts: 458
- Joined: 17th Oct 2015
- Location: Aberdeen, Scotland
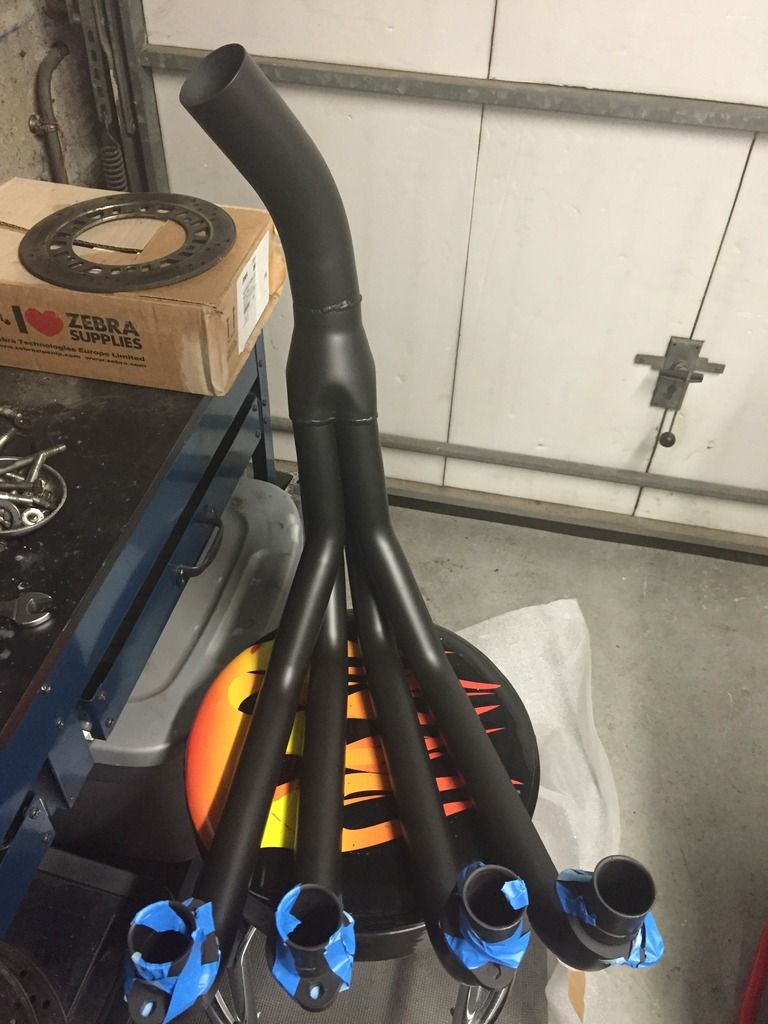
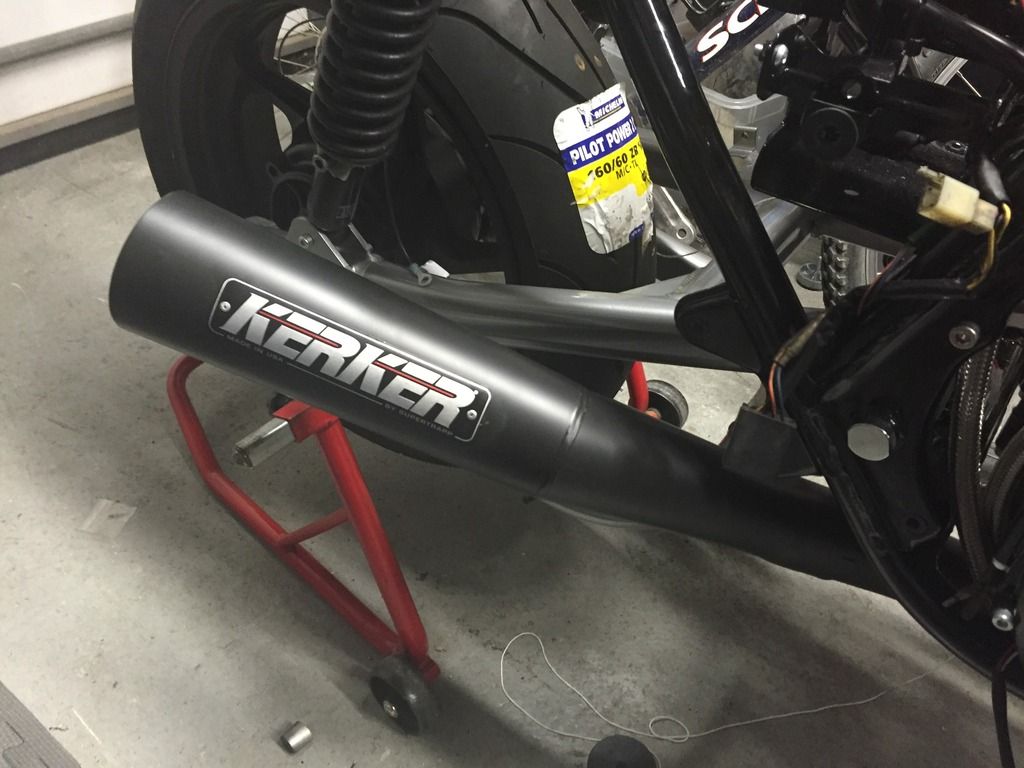
Got my Kerker back from the metal finishers with Cerakote applied.. The guy made that fatal mistake of telling me to handle it with care as easy to mark before its been at full temperature.. So of course the silencer jumped off the workbench and bounced across the floor.. Ahh! Fortunately just a couple of small marks but very happy with the overall finish..
Some more progress on wiring, getting some new switches from Dave at Saisei that I will pick up at Stafford and we should be there..
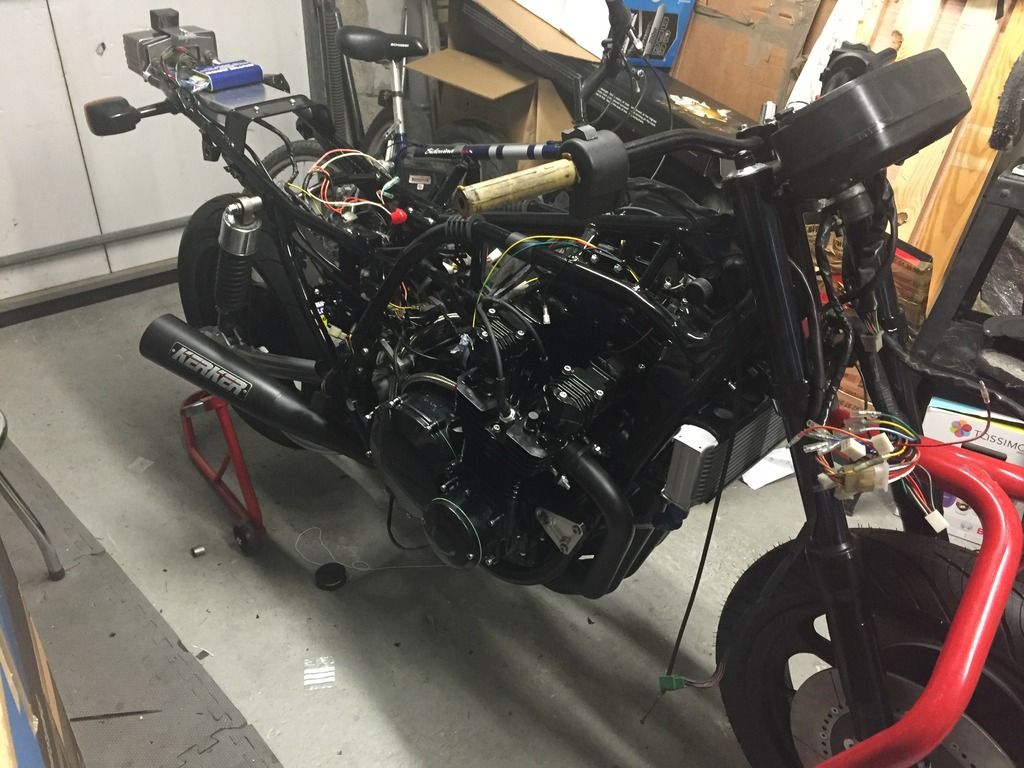
Unfortunately my KipKawa Rearsets I bought off here won't clear the swingarm so will have to go for some tomforde ones if anyone wants the KipKawa ones let me know as I won't have a need for them anymore.
Some more progress on wiring, getting some new switches from Dave at Saisei that I will pick up at Stafford and we should be there..
Unfortunately my KipKawa Rearsets I bought off here won't clear the swingarm so will have to go for some tomforde ones
-
martinz1000r
- Custard Cream

- Posts: 919
- Joined: 1st Jul 2007
- Location: Oxfordshire
Couple of observations based on my own build a few years ago:
Kipkawa rearsets - put a spacer behind the mounting plates. They'll fit perfectly then. I think it was 10mm but can go measure mine later if you need accurate. Save you a fortune against Tomforde (even though they are a thing of beauty). Not sure which version you have but gear lever side if you are using the Z1000S gear lever might foul the side stand mount. The other version they produce where the gear lever pivots off the peg is no problem.
RH switchgear - standard switch gear is too wide to accommodate the Motion Pro twin cable throttle. The switch gear, brake master and throttle just wont fit on the bar. I used an early R1 switch so as to keep the light switch. You just need to swap the connector block to match Kawasaki loom. Wiring colours are different but dead easy to work out!
Z1000R, Moto Martin GPz, z900 A4 Crosby Replica, Harris Magnum 2, Suzuki GSXR 1100 Slabbie, SP1 Hoonda x 2, Katana 1100, Bimota SB6R and Tuatara
Who is online
Users browsing this forum: No registered users and 70 guests